3 tips for connecting basic strokes to form letters

connecting basic strokes to form letters

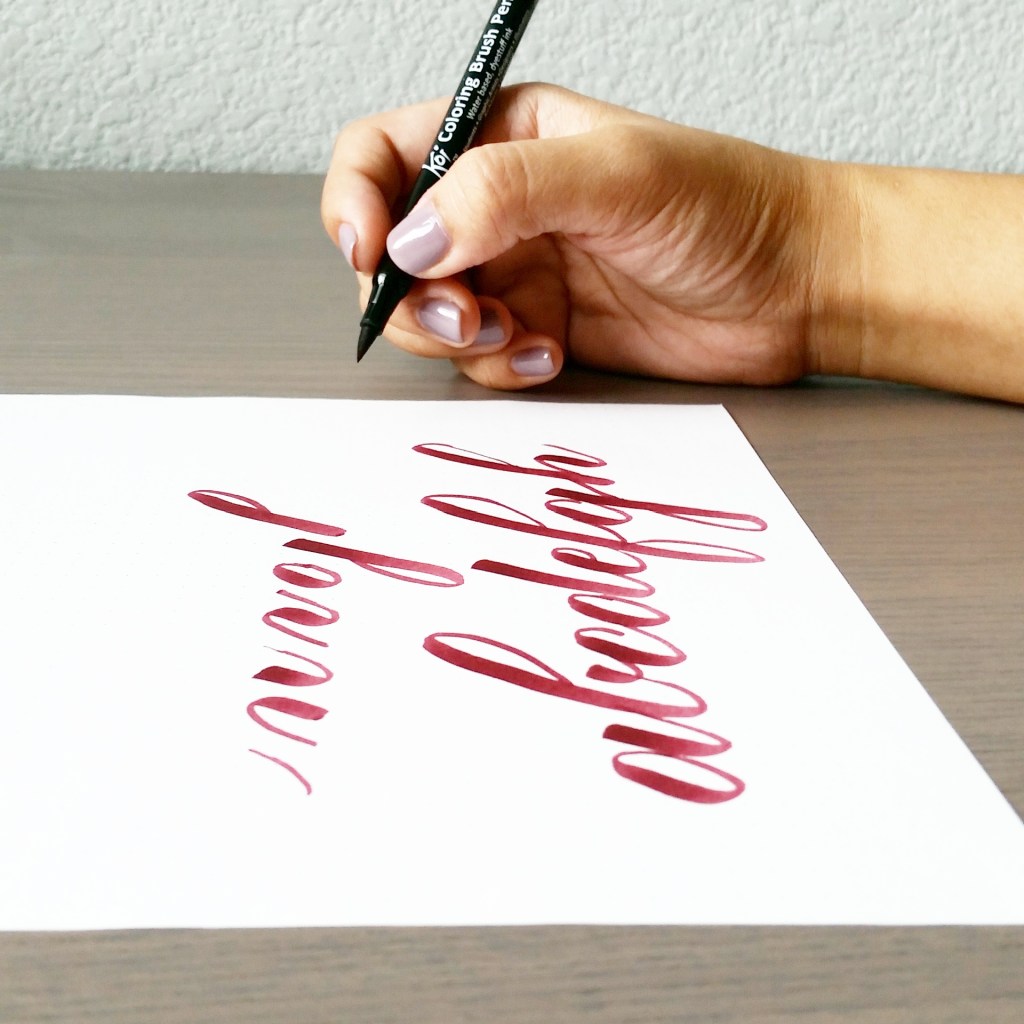
For the past eight weeks, we’ve reviewed and practiced the basic strokes every brush calligrapher should know. Once you master the basic strokes, you are ready to form letters. Read on to learn about three key aspects to connecting basic strokes when forming letters.

connecting basic strokes to form letters

3 tips for connecting basic strokes to form letters

1. Learn the basic strokes

You must take the time to learn, understand, and practice the basic strokes before you start creating letters. It is tempting to jump into brush calligraphy and start writing whatever your heart desires. But you’ll be very pleased and grateful if you set yourself up for success by building your brush calligraphy foundation and increasing your muscle memory.

Take your time. Go slow. Be intentional and deliberate with your practice so that you can be best prepared to begin writing letters.

Go through each and everyone of the basic strokes. Pay close attention to the proper form, tips that I share for each one, and the types of drills that help you practice the strokes.

2. Lift

One of the key differences between calligraphy and cursive is that you need to lift your brush pen. With cursive, you rarely lift your pen. In fact, you pretty much lift your pen only to cross your T or dot your I. On the other hand, you lift your pen after nearly every single stroke when it comes to calligraphy.

Lifting your pen allows your strokes to breathe. When your strokes can breathe, your script looks very elegant and deliberate. It doesn’t look rushed, messy, or sloppy.

When you life your pen, you can easily place subsequent strokes in a location on the page that creates an elegant look to the letters when they are viewed as a whole. Due to the nature of the brush calligraphy strokes (thin upstrokes and thick downstrokes), it is important to position each stroke in such a way that allows them to “breathe” or be spaced apart enough that they look intentional and fluid.

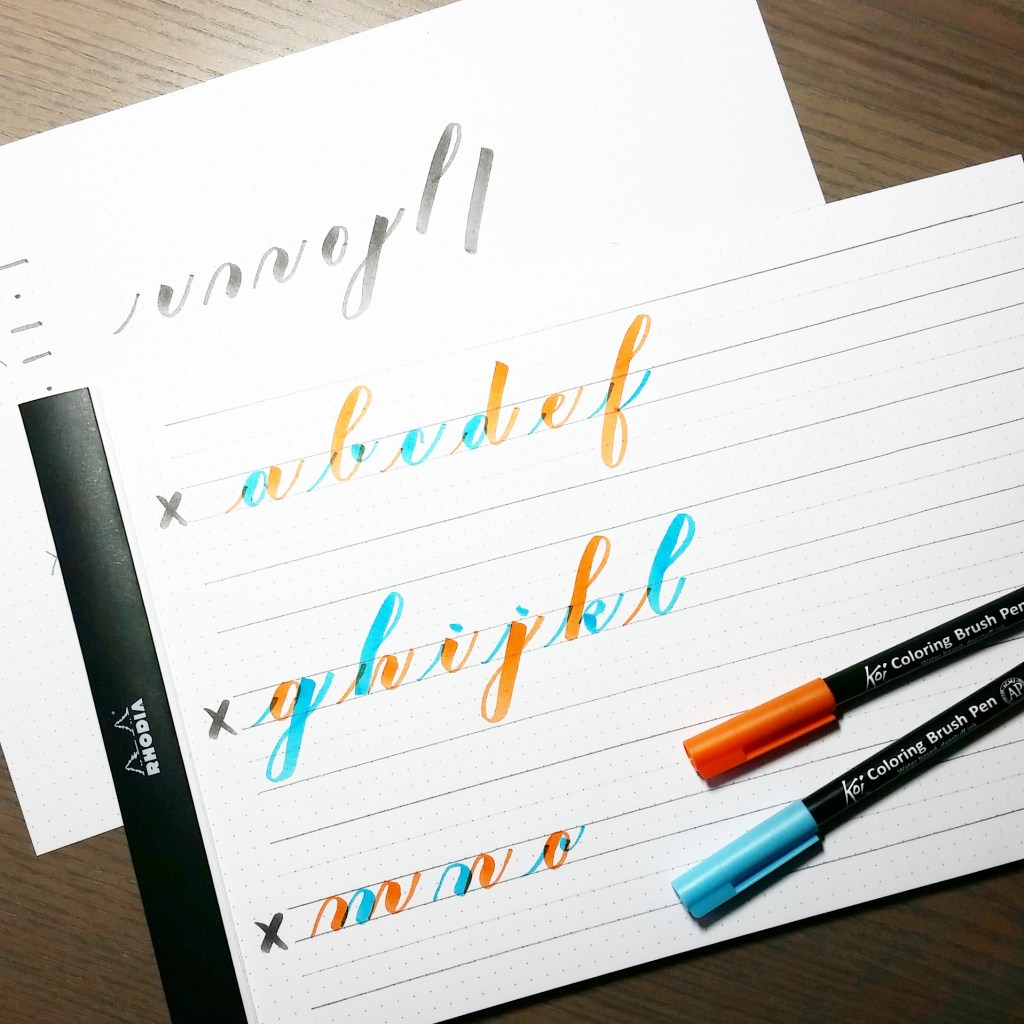
When you are first practicing the lifting of your brush pen, try connecting only two strokes at a time. Try these combinations:

3. Look ahead

As you write each basic stroke to form letters, you need to look ahead. Looking aheads means that you are literally looking to the next space on your page and envisioning what the following stroke will look like. How much space will it take up? What shape does it take? How do you need to hold and position your pen in order to place the next stroke properly and elegantly next to the stroke you just made?

Part of looking ahead is lifting. When you lift your pen, you sort of pause, taking a moment to glance ahead of the stroke you just created and see what the next stroke would look like.

If you lift your pen, you are better able to look ahead and create the next stroke intentionally and carefully.  The skill of looking ahead and anticipating your next stroke will come with time and practice. Remember, start with connecting two basic strokes at a time (see #2). Then slowly add more and more basic strokes until you can more easily put them together to create all the letters of the alphabet.

Video: Connecting basic strokes to create letters

Watch the following video to see me demonstrate these tips. You’ll find that the a solid foundation of the basic strokes will truly set you up for success when writing letters.

Practicing the Alphabet

Be sure to practice your letters one at a time. This doesn’t mean that you cannot write more than once at a time – it just gives you a very deliberate practice plan so that you can find more success than if you were to rush and try to write all of the letters in one sitting.

I have found that my most successful practice sessions come when I break down my words and letters, and really “see” these letters as simply basic strokes that are simply connected to each other.

On Instagram, you can find a daily alphabet challenge called #handletteredABCs. The challenge is in its the second round as the first round took place in the summer of 2015. As of this blog post, the challenge is currently at the letter “O.” But you can easily catch up by starting at the very beginning, or jumping in with the letter of the day. You can find more details at @handletteredABCs. I’d love for you to join! You can find my own letters here: #piecesABCs.

img_20160116_093408.jpg

~ ~ ~

It’s your turn! Tell me in a comment below:

What is your experience with connecting basic strokes?

What is your biggest struggle when it comes to connecting basic strokes?

Do you have any other tips to share when connecting basic strokes?

~ ~ ~

P.S. If you liked this post, please share it with a friend!

P. P. S. If you haven’t already done so, subscribe to my blog below so you get my posts directly in your inbox!

Follow me on Instagram: @piecescalligraphy

And now on Periscope! Find me at @piecescalligraphy

20 responses to “3 tips for connecting basic strokes to form letters”

  1. Isabella Avatar

    Love the scope today! Super helpful👍🏻👍🏻

    Like

    1. piecescalligraphy Avatar

      Whoo hoo, thanks, Isabella! Catch you at the next one! I’m thinking Saturday mornings and Sunday/Monday nights 🙂

      Like

  2. Noah Wilkins Avatar

    Hi Sharisse,
    I know i sound like a broken record but i am so excited and thankful for this lettering ride we are all on and how important and essential you as well as the lettering have been on both my calligraphy and my life as a whole. The weekly practices and IG prompts and challenges give me a reason to keep going. I am amazed how your “empire” hehe has grown and that i get first hand participation in it. Sorry for the sappy comment but i can not wait to see what is in store.
    Thank you again,
    Noah 😊❤️👏

    Like

    1. piecescalligraphy Avatar

      Likewise, a broken records. Thank you, thank you, Noah!!! Your endless support truly motivates me and encourages me to keep going.

      I never got the chance to reply to your comment on the ABCs Instagram account regarding the fact that the alphabet is a daily, not weekly, challenge. Yes! It is a turbo challenge, which we hoped would give some folks the much-needed boost, inspiration, and motivation to really practice and show up. It can be overwhelming, too, so we always encourage folks not to sweat it if they cannot participate every day, and to simply jump in when they can. Even I am behind on my personal Instagram!!! We’ll be returning to weekly challenges soon… Very much needed as we mamas are very tired and need to sloooowww down! 😉

      Like

  3. Breann Avatar

    Hi Sharisse!

    Great tips! Any chance you could show us how you make your lowercase e? I’m having problems with it and I think an explanation would really help! Thanks!

    Breann

    Like

    1. piecescalligraphy Avatar

      Hi, Breann! Sure! Ideally, I would love to review each letter in depth, complete with an entire blog post and video devoted to it. Until then, you can find some of my video demonstrations on Instagram. Search for my hashtag: #piecesABCs or #piecesvideos. Let me know if you need help finding an example of the letter e.

      Like

      1. Shier Avatar
        Shier

        Can’t wait for your tutorial on how to create each letter, Sharisse! Thank you so much!

        Like

        1. piecescalligraphy Avatar

          Thanks so much! I will be sharing letter tutorials in a couple of weeks since I recently decided to take a blogging and YouTubing break. I am excited to get to it. In the meantime, you can find most of my individual letters on Instagram with the tag: #piecesABCs.

          Also, I have a free, downloadable worksheet on my learn page (piecescalligraphy.com/learn) that you can print out and use for practice. Hope that helps!

          Like

  4. Beverly Avatar
    Beverly

    Thank you! Sharisse for the video. It showed me what I was doing wrong with the letter b. My drills can only get better!

    Like

    1. piecescalligraphy Avatar

      Perfect. B for Beverly. 😉 Happy writing!!!

      Like

  5. Anna Avatar
    Anna

    Thank you for this. These tips and the video make me realize that I need to start over and learn the basics… Oh boy. 🙂

    Like

    1. piecescalligraphy Avatar

      Hi Anna! You’re welcome! That’s OK. Even much as I may seem experienced, I often need to go back to basics to get my muscles warmed up, or to simply fine tune my current script. Basics are good! They set your foundation up for more successful steps in the future.

      Like

  6. Andrea Goo Avatar

    I’m spending lots of time working on the basic strokes, especially with the larger Tombow markers that give me trouble…. Practice, practice, practice!

    Like

    1. piecescalligraphy Avatar

      Right on, Andrea! Do you have other brush pens to try out? The Tombow dual brushes are certainly gigantic, but I truly love using them for practicing. Remember, don’t stress about making your thin strokes exactly like hairlines (in the literal sense). Just focus on achieving consistent strokes and creating that drastic contrast between thin/thick. Let me know how it goes!

      Like

  7. Improve your letters by practicing with two different colors – pieces calligraphy Avatar

    […] the strokes to form the letters, which is the very key to creating beautiful brush calligraphy. In last week’s post on tips for connecting basic strokes to form letters, I emphasized the importance of lifting to allow your letters to breathe, to give your brush […]

    Like

  8. How to improve thin upstrokes – pieces calligraphy Avatar

    […] Read more about basic strokes and connecting basic strokes. […]

    Like

  9. My first workshop! – pieces calligraphy Avatar

    […] Tips for connecting basic strokes to form letters […]

    Like

  10. Azka Avatar
    Azka

    Wow!Ma’am you are beyond awesome!I’m a starter..I’m pretty good now..Thanks to you..I really enjoy all most every session of yours..Looking forward for more.. 🙂

    Like

    1. piecescalligraphy Avatar

      Thanks for your kind words, Azka! Happy writing!

      Like

  11. […] Connecting strokes are those that link one alphabet to the next. These strokes indicate whether the writer wishes to raise the pen to go to the next word or wants to keep the alphabets together to form one word.   […]

    Like

Leave a Comment

Hi, I’m Sharisse

I love teaching brush calligraphy to others so they can enjoy a creative outlet, slow down, and experience the peace and joy lettering can bring — even in the middle of busy everyday life. As a wife and mama, I know how precious time can be, which is why I create beginner-friendly lessons designed to feel simple, encouraging, and approachable. Whether you think you have “bad handwriting” or you’re completely new to calligraphy, I’m here to help you build confidence and enjoy the process one step at a time.

What My Past Students Are Saying…

“I finally feel like I understand how everything works.”
— Judy, CA

“Your teaching style made calligraphy feel much less overwhelming.”
— Emily

“I feel so much more confident with my brush lettering now.”
— Elma

“Everything is explained in a way that’s simple and easy to follow.”
— Eluci

My Recent Post