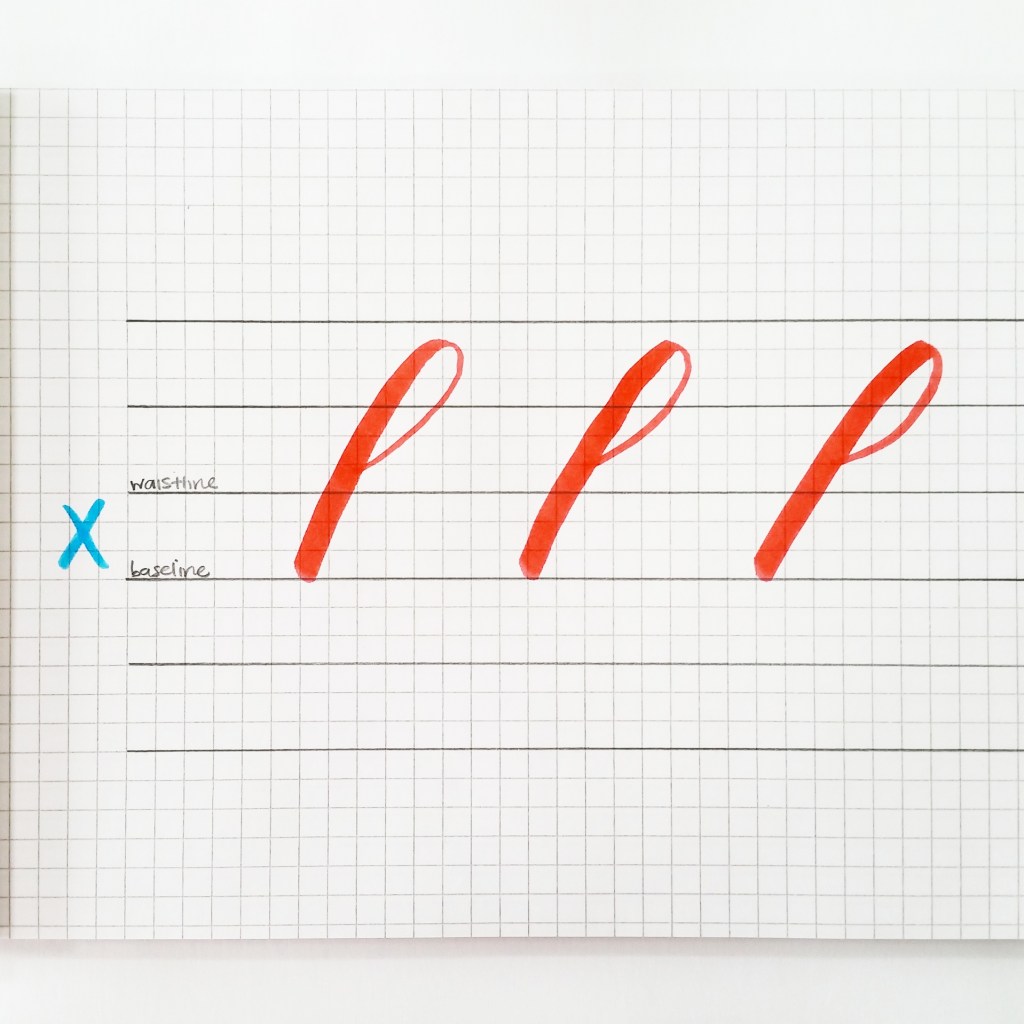
Welcome to Part 6 of my Basic Brush Calligraphy Strokes series!
So far, we have reviewed the:
Before you get started, be sure to familiarize yourself with these previous posts:
- Brush pens recommended for beginners
- Holding your brush pen properly
- Facing your brush pen in the right direction
If you are on Instagram, share your work by posting it with the hashtag, #pieces_basicstrokes.
Now, let’s talk about the ascending stem loop!
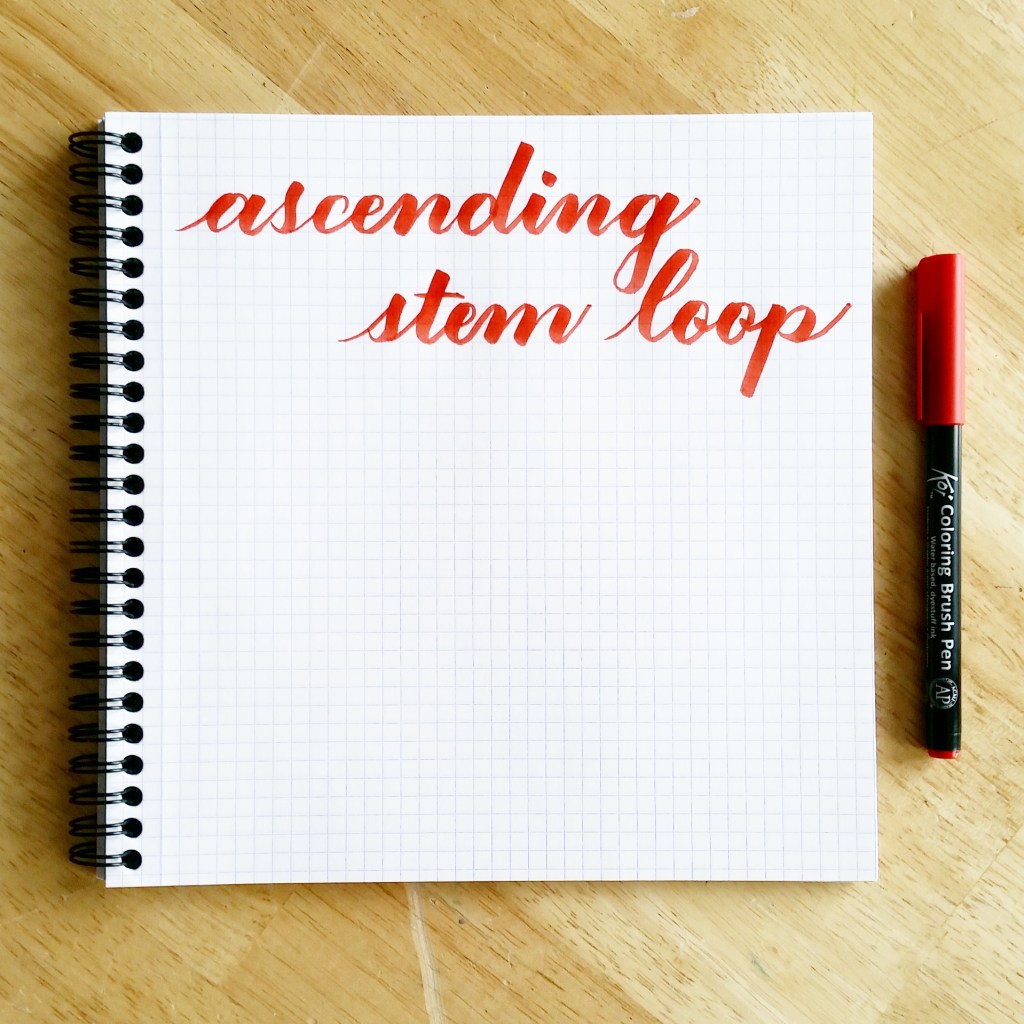
What is the ascending stem loop?
To understand the ascending stem loop, let’s review the following terms:
- An ascender is any stroke that goes above the waistline. For example, there is an ascender in the lowercase d, h, l, and t.
- A stem is the backbone of a letter. You will see more stems in letters as we review uppercase letters in a future post.
- A loop is exactly what it sounds like, a loop. It is a stroke that forms an enclosed space and usually is connected to a stem.
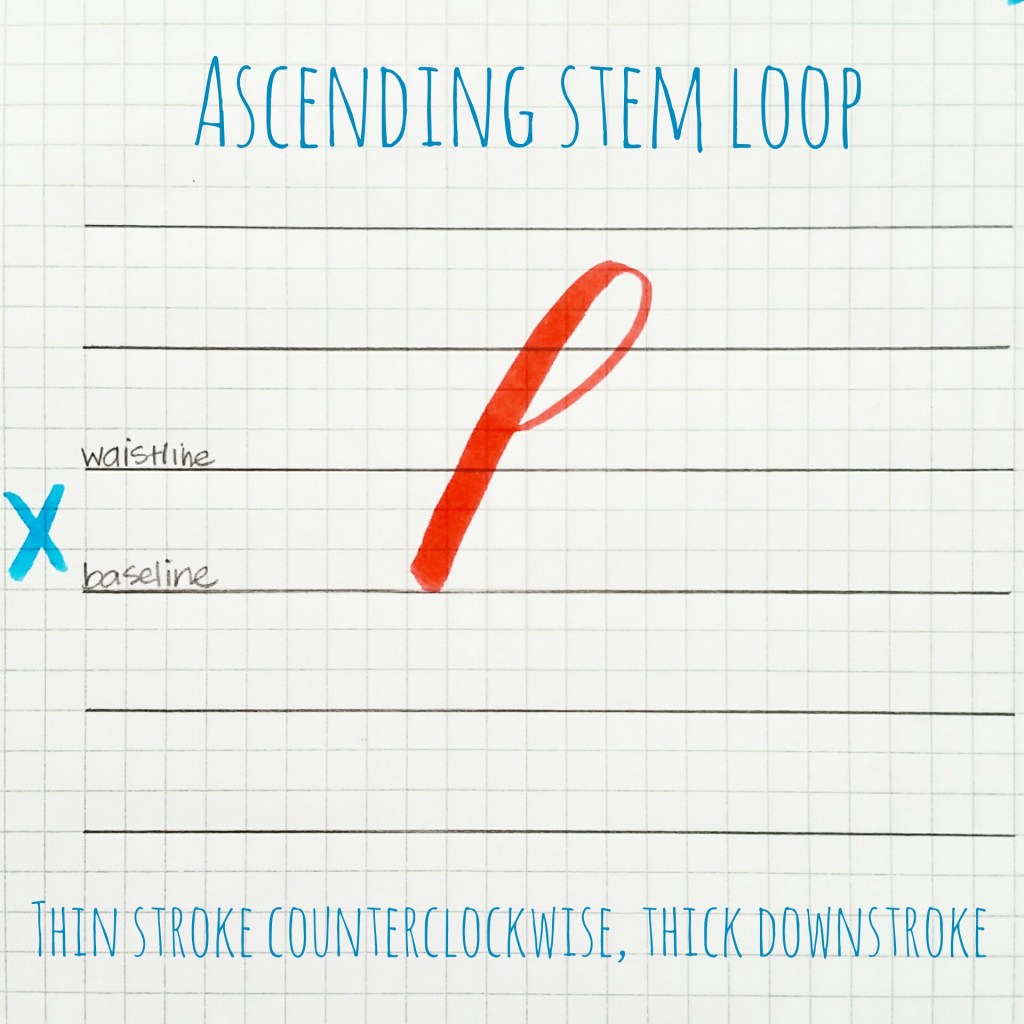
Now that we’ve reviewed those terms, an ascending stem loop, or ascender loop, is a basic stroke that forms many letters of the alphabet which extend above the waistline.
How to create the ascending stem loop
To create the ascending stem loop, start with light pressure just above the waistline. Create a thin stroke that curves counterclockwise toward the ascender line. Maintaining light pressure, continue curving around until you start going downward, then transition slowly into a straight, thick downstroke. Head toward the baseline and end with full pressure.
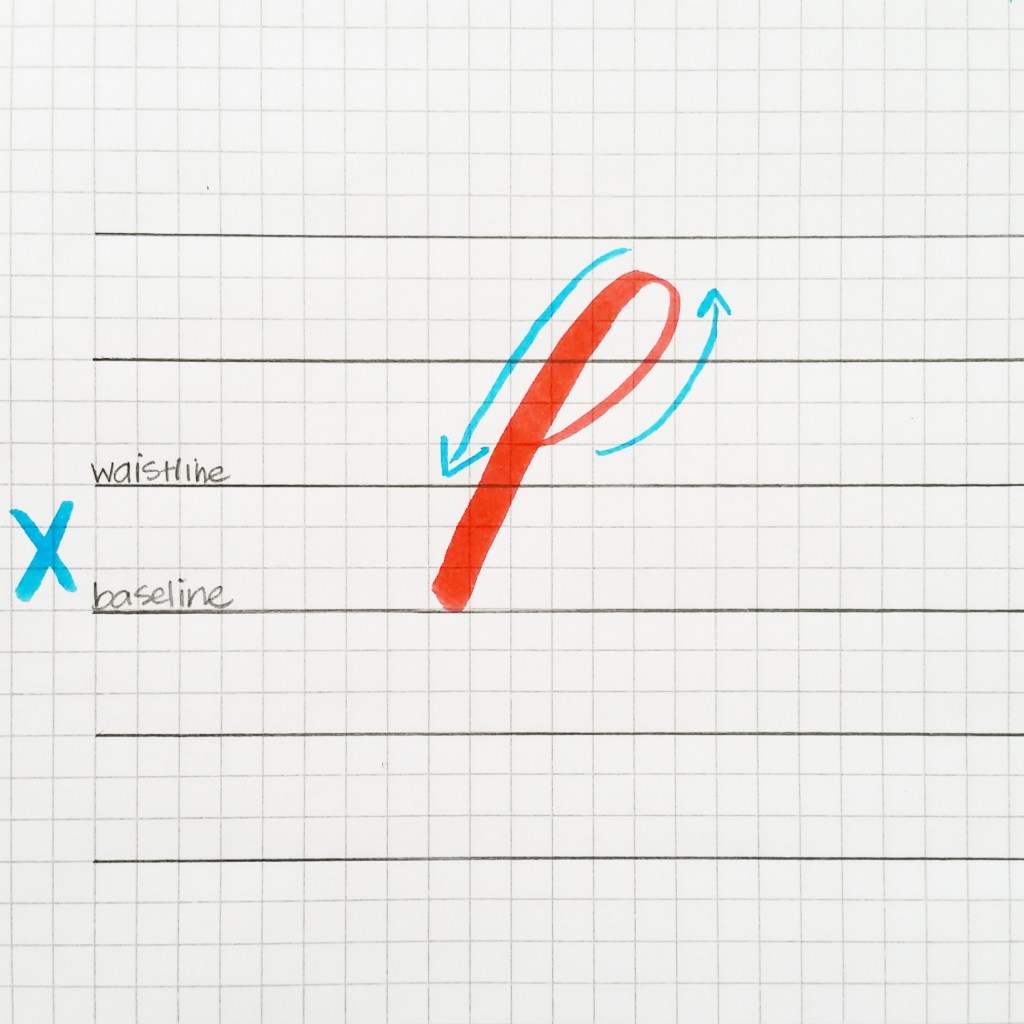
The key with the ascending stem loops is to maintain a thin stroke in the beginning until after you begin transitioning into a thick downstroke.
You may be shaky at first, or unfamiliar with how the stroke should feel as you create it. But as always, practice makes progress. I share practice drills at the end of this post for you to work on.
*A note on guidelines*
The guidelines you see here are one option you can use. There are other options with different ratios that we will review in a future post. For instructional purposes, we will stick to the ratio you see here. See this post by Nina Tran for more information on guideline ratios.
When to use the ascending stem loop
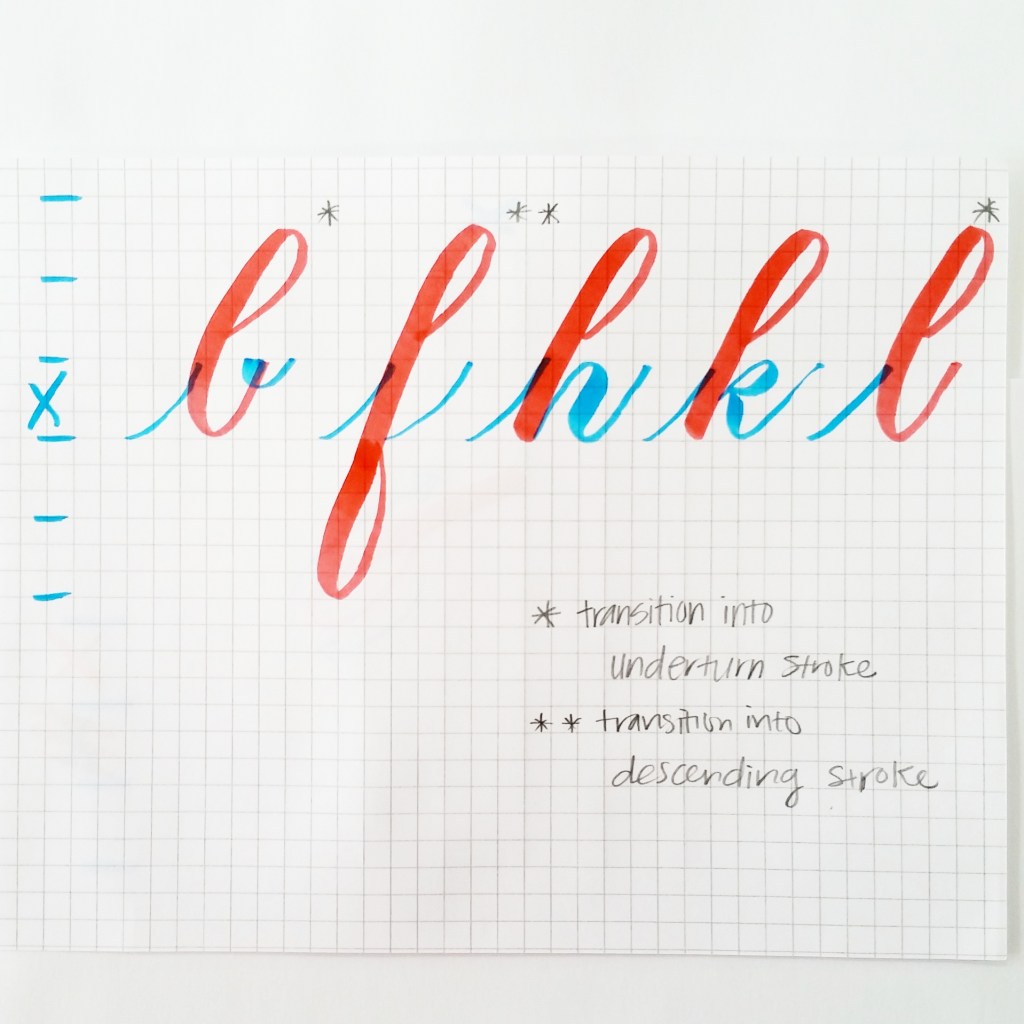
The ascending stem loop is used in the letters: b, f, h, k, and l.
Note that in the letters b, f, and l, the ascending stem loop transitions into an underturn stroke.
Practice Drills
Do these practice drills to improve your ascending stem loop.
Don’t worry about being perfect or creating strokes that are completely free of any shakiness. Shakiness is expected in the beginning! When you are still learning the brush pen and when you go slow (which you SHOULD), then shakiness is normal.
Try these practice drills. Focus on the position of your hand, your grip, your technique, and the forming of the stroke.
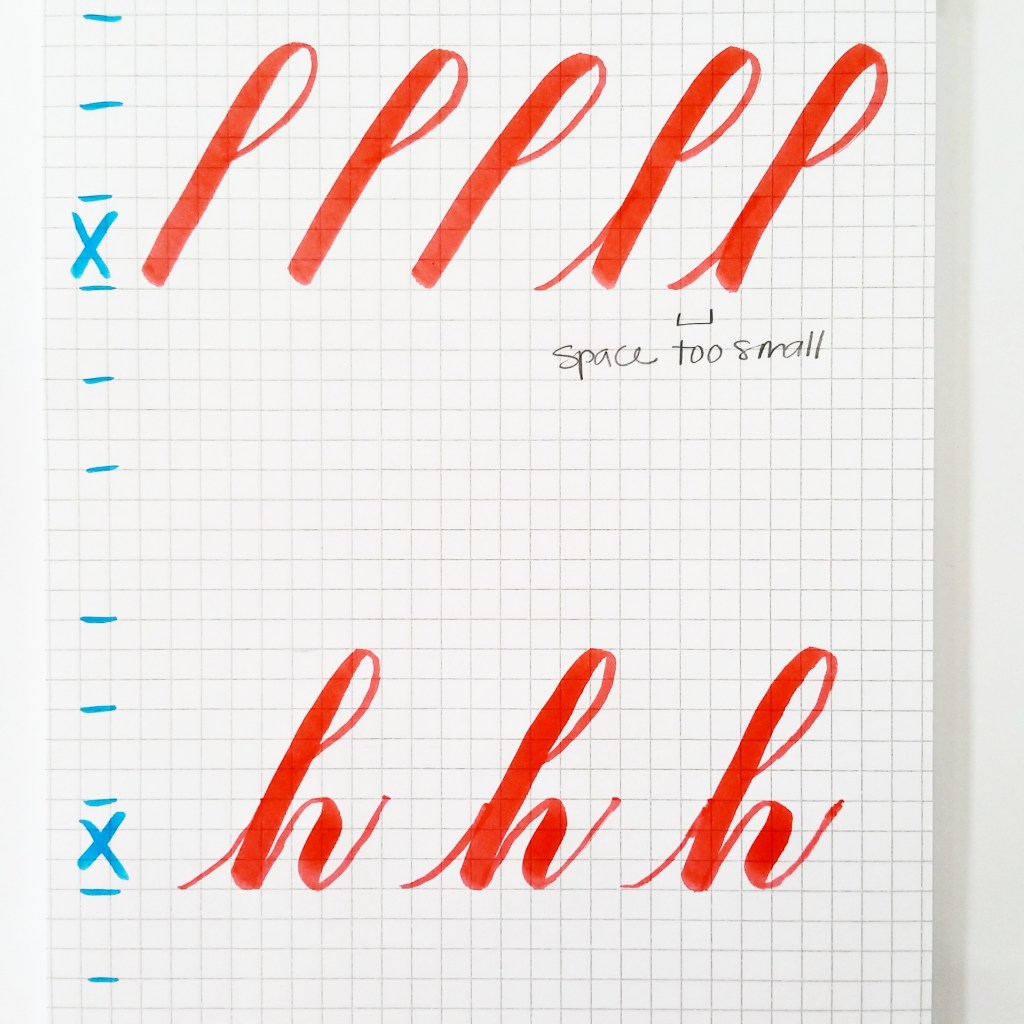
- Ascending stem loop: Fill a page with ascending stem loops. Focus on the transitions and increasing your consistency . After each row of ascending stem loops, review them and think about how you can improve for the next set.
- Entrance stroke + ascending stem loop: Practice connecting the entrance stroke with the ascending stem loop.
- Entrance stroke + ascending stem loop + compound curve: Practice connecting the entrance stroke to the ascending stem loop and compound curve. This forms the letter h!
The following practice is using two boxes per line (see how the x-height is equivalent to two boxes on my graph paper?). This option of guidelines is helpful for smaller brush tips and/or smaller writing in general.
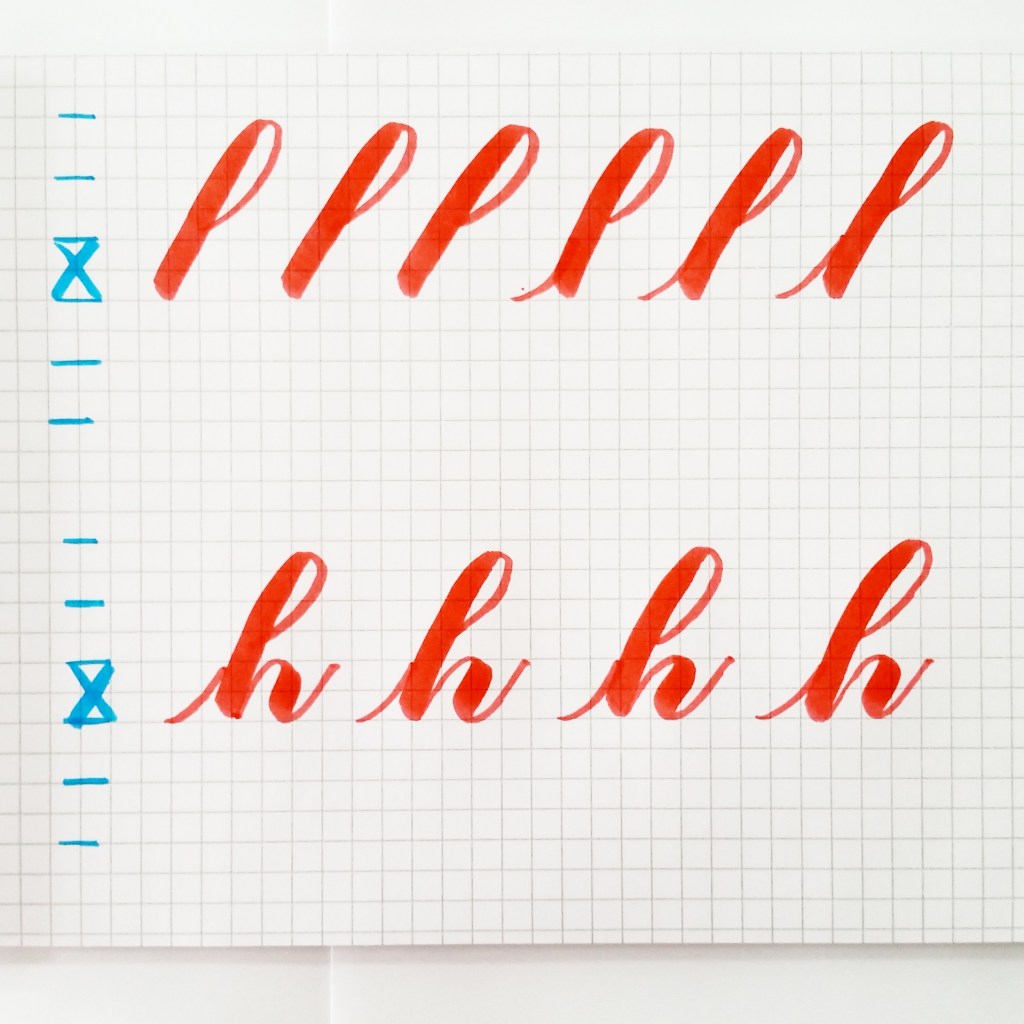
If you mess up, keep going. Focus on the next stroke. Remember that you will only improve when you keep on practicing and experimenting and learning.
Video: The ascending stem loop
Watch the video below to see a demonstration of the ascending stem loop and practice drills you can start today!
~ ~ ~
It’s your turn! Tell me in a comment below:
Have you tried the ascending stem loop? How would you describe your experiences so far?
What is the hardest part about the ascending stem loop for you?
Are you sharing your work on Instagram? Be sure to share by tagging #pieces_basicstrokes!
~ ~ ~
Cheers,

P.S. If you liked this post, please share it with a friend!
P. P. S. If you haven’t already done so, subscribe to my blog below so you get my posts directly in your inbox!
Follow me on Instagram: @piecescalligraphy
Watch more videos on YouTube: piecescalligraphy
~ ~ ~
Supplies used in this post and video:


 Pieces Calligraphy
Leave a Comment