When Brittany from Tombow first sent me the Tombow blending palette to try, I ashamedly let the palette sit in the corner of my crafting table, staring at me for a while.
Why didn’t I dive right into this amazing tool that effortlessly blends my favorite brush pens?
I had no clue what to do.
After practice a bit and getting more familiar with the palette, I wanted to write this post to help anyone who was hesitant at first with blending just like me, and show you how easy and FUN it is!
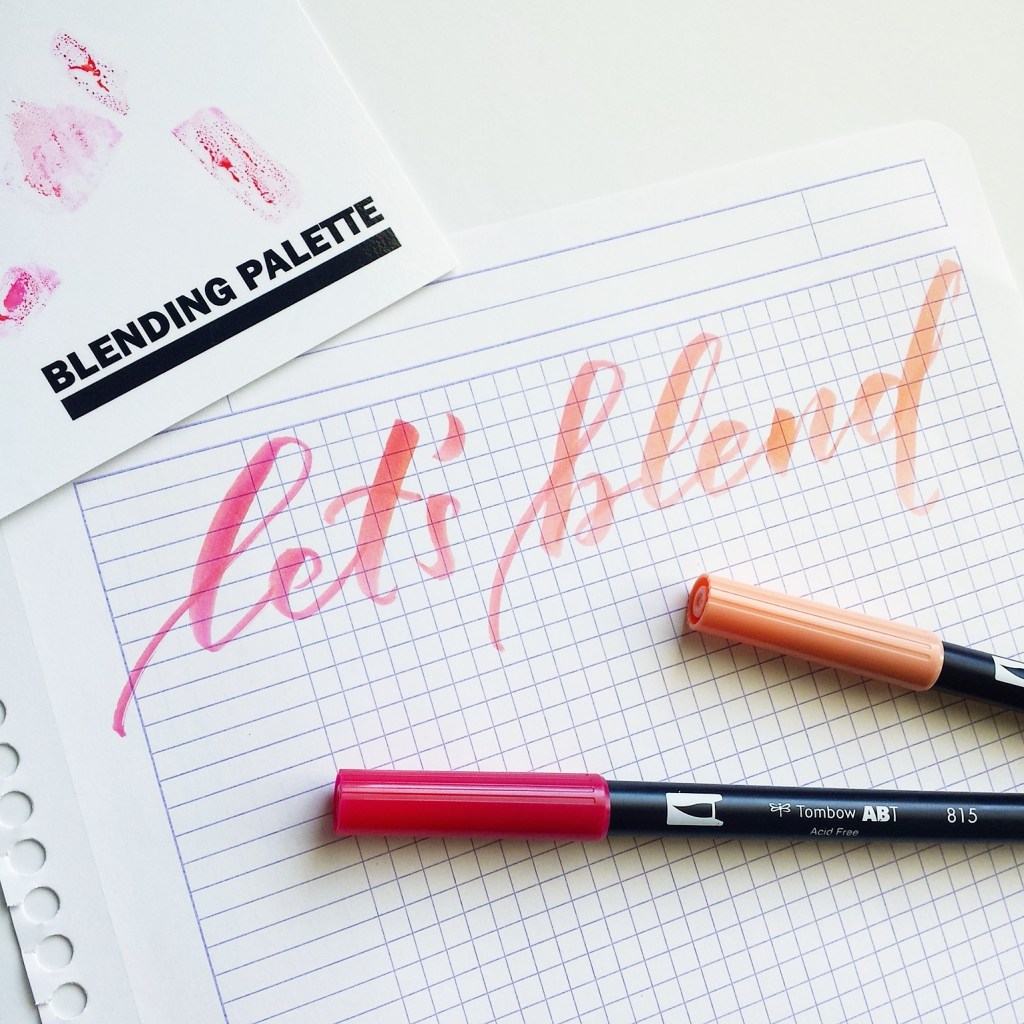
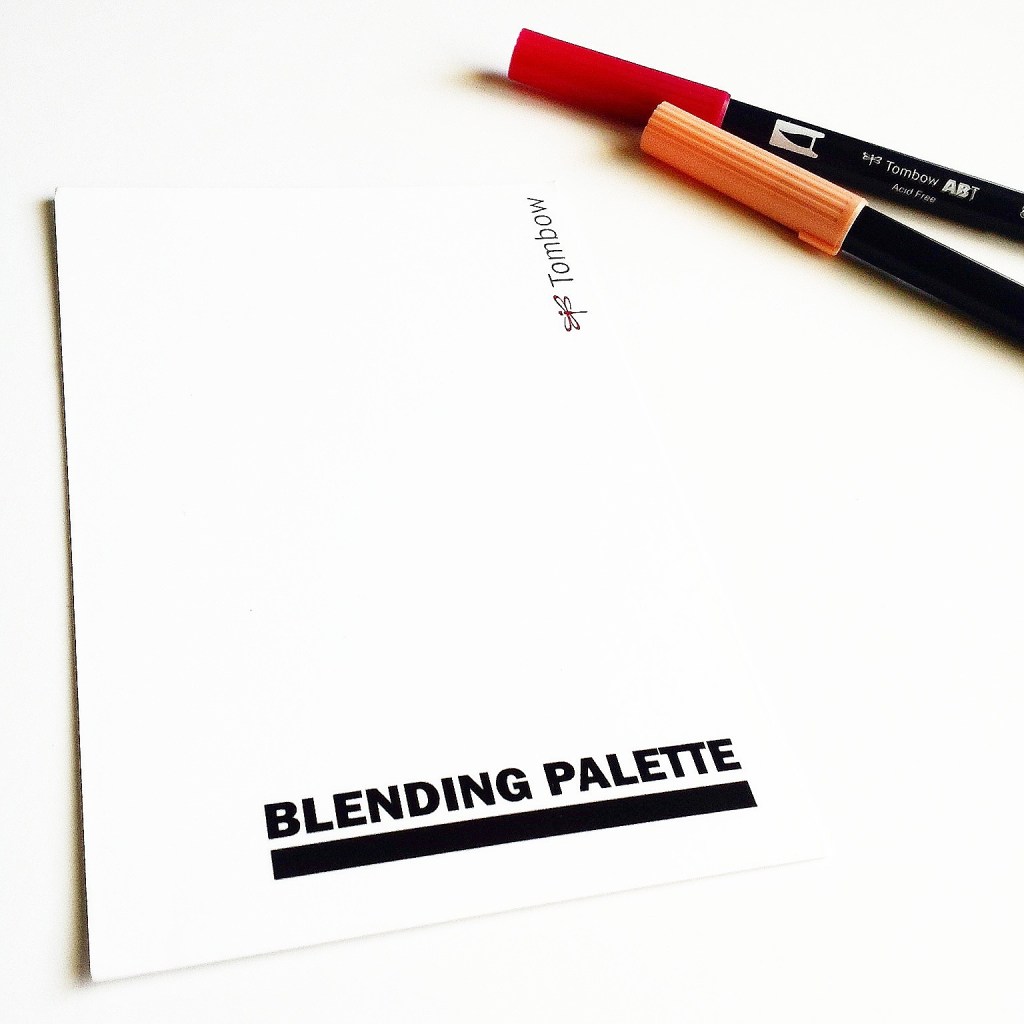
The blending palette itself is a piece of paper covered in thick plastic, which creates a surface ideal for blending your ink.
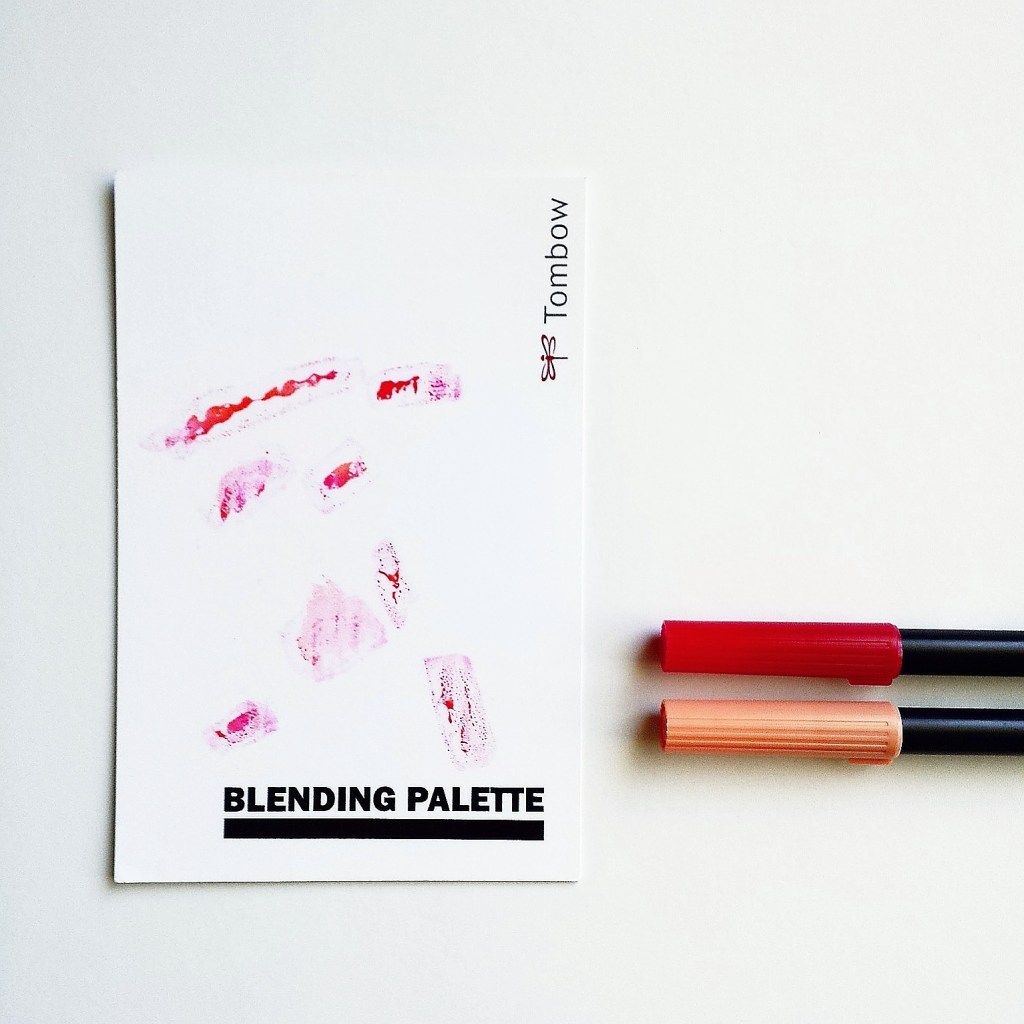
I like to blend a lighter color onto a darker color to achieve the best gradient.
In the example I will share, I first took a dark pink palette and wrote directly onto the palette to put ink on it.
Then I took a lighter salmon color, and wrote on top of the pink ink I had just placed onto the palette. Doing this allows me to pick up the dark ink onto my lighter ink.
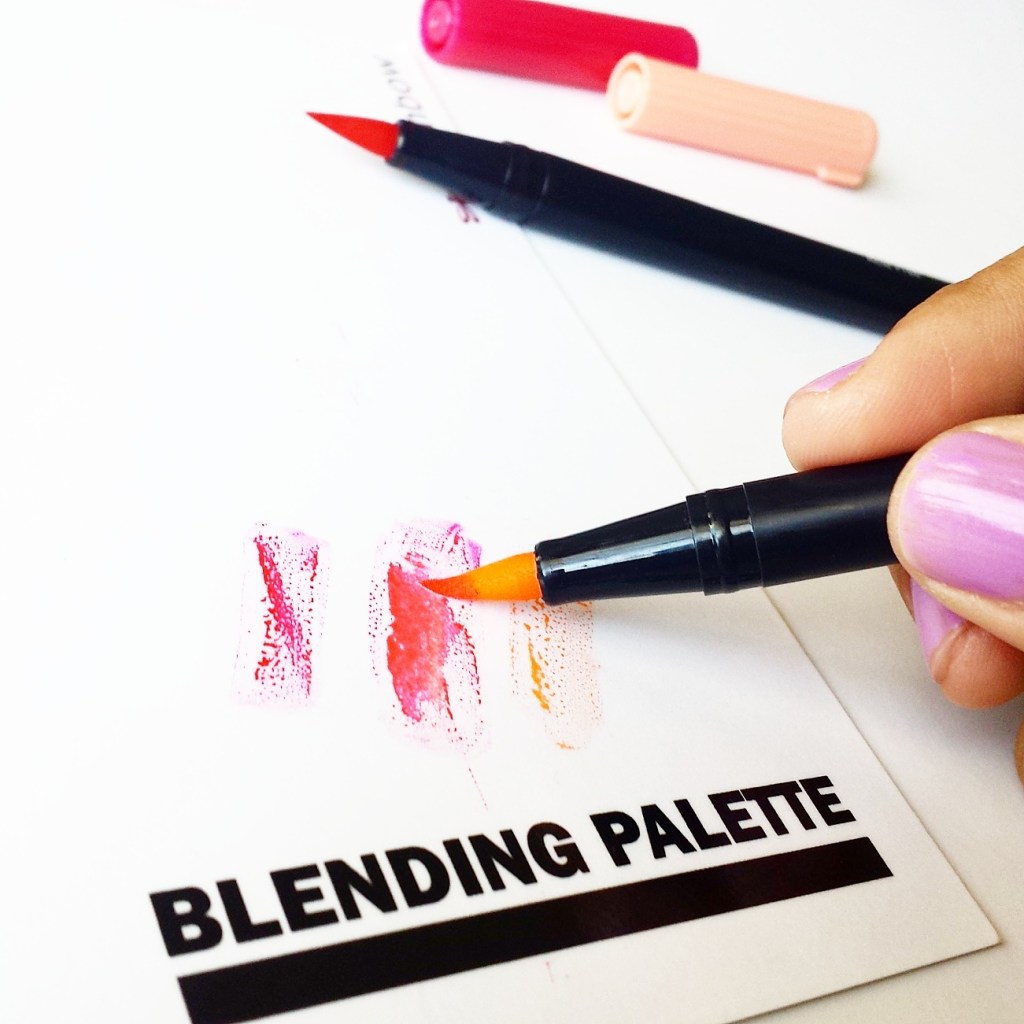
In the photo below, the ink on the left is the dark pink, the ink in the middle is a blend of the two colors, and the ink on the very right is the lighter, salmon pink ink.
Once I blend the colors, I immediately begin to write.
The fun part is watching the colors blend across the page.
The hard part is figuring out what color combination to do next. The options are endless!
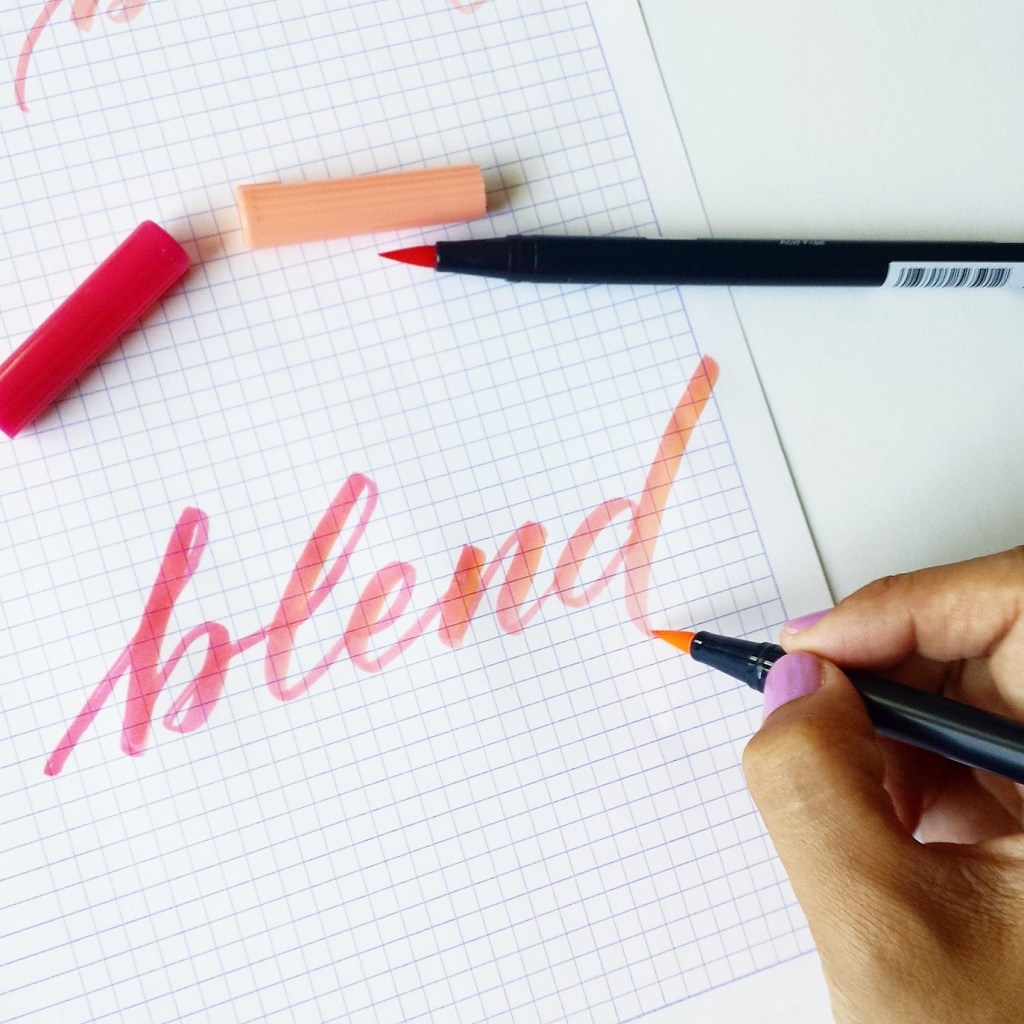
Here’s a video of me showing the blending palette and demonstrating how to use it. \
I hope you find this helpful and that you’ll let me know what you think!
~ ~ ~
It’s your turn!
Are you interested in trying the blending palette?
What colors would you choose to blend?
~ ~ ~
P.S. If you liked this post, I’d love if you would share it!
P. P. S. Be sure you are subscribed to my blog below so you don’t miss a post!


Leave a Comment