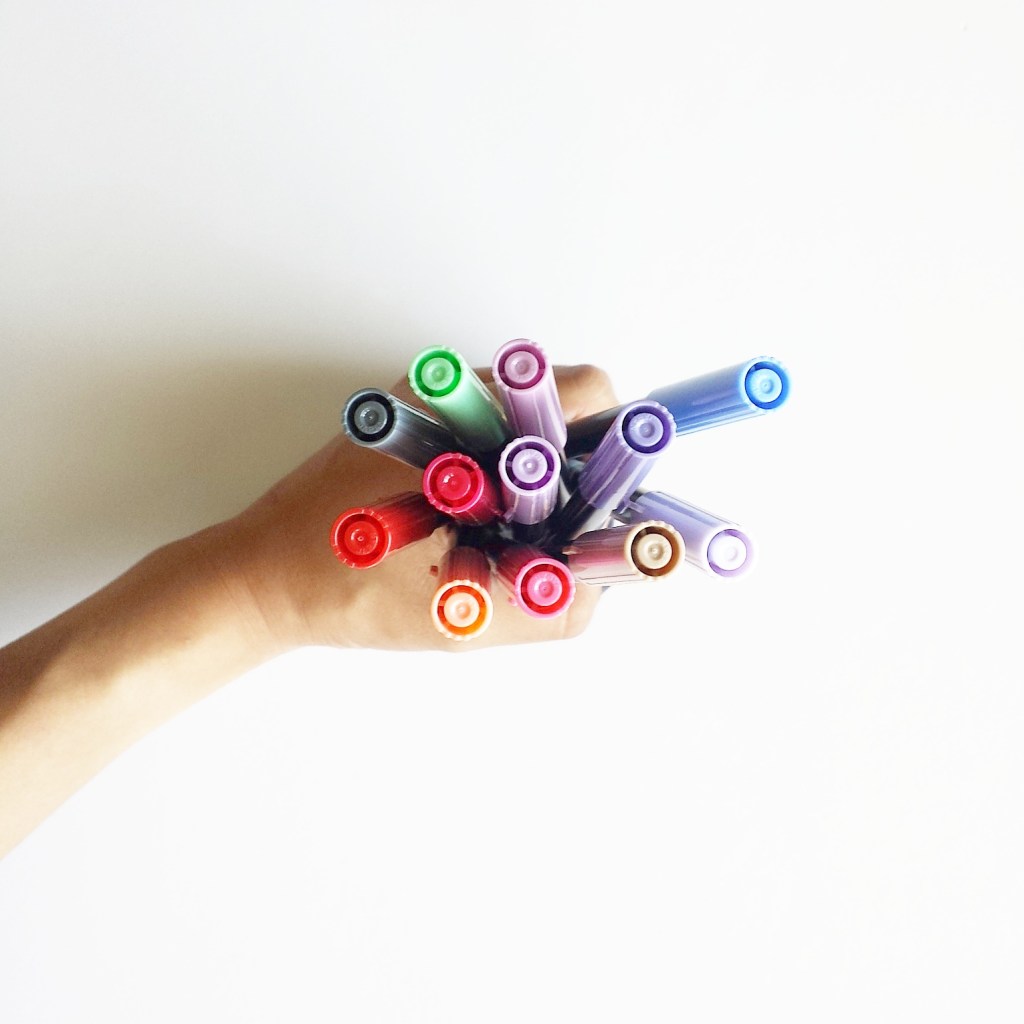
If you follow me on Instagram, you are well aware of my love for Tombows.
I created this post (with a video at the end!) as an overview of the Tombow Dual Brush Pen.

The reason it is called a “dual” brush pen, is because on one end, there is a flexible tip…
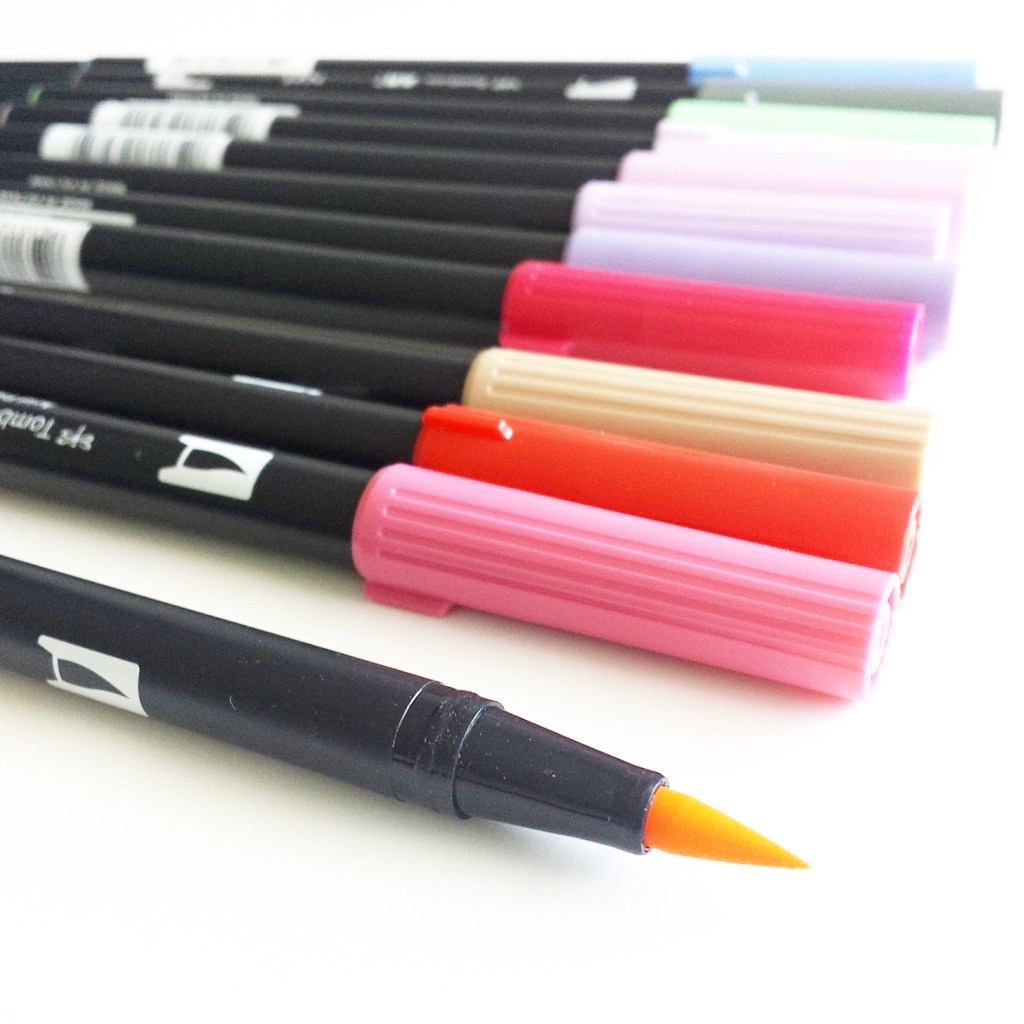
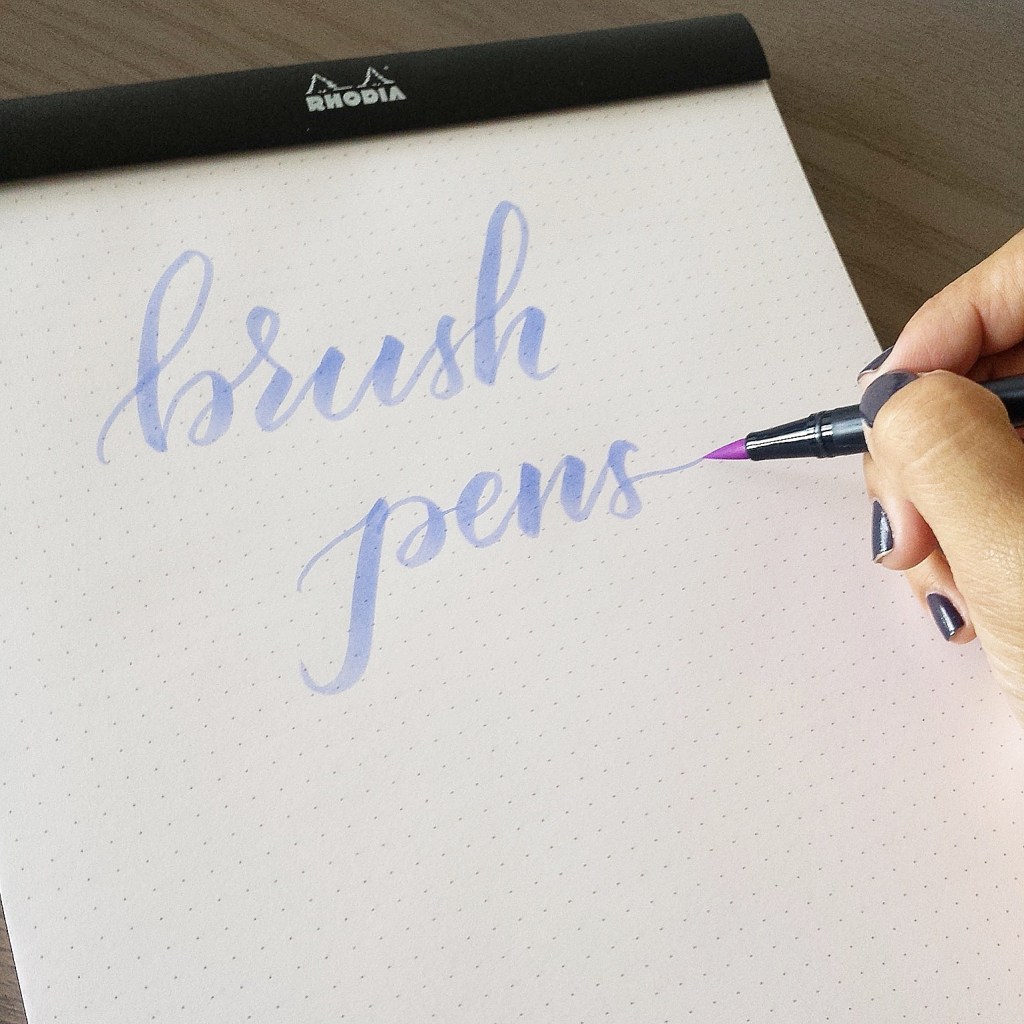
I use the flexible tip 99% of the time. It is what allows me to create calligraphy with single strokes in a smooth, easy, consistent manner. Calligraphy is defined by its varying thick and thin lines, which you’ll see below as I demonstrate how I write.
And on the other end of the pen, there is a fine tip…
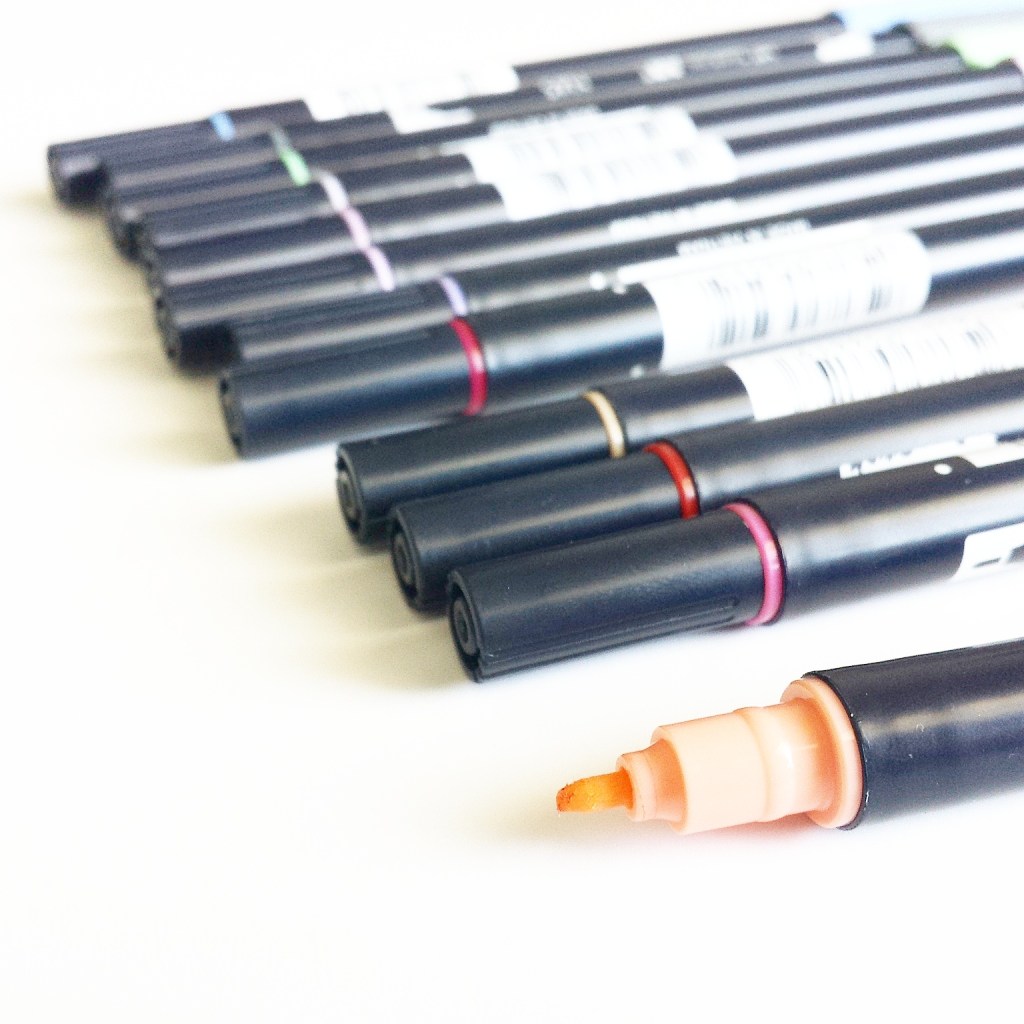
The fine tip does not allow for the thick and thin lines, as it has only one width. This is still extremely helpful for touching up what you’ve written with the flexible tip, it allows for smaller fonts, and it can easily be used to create faux calligraphy.
It is impossible to cover everything about brush pens in one post, so I’ll leave you with this simple drill that I do often to warm up my writing and practice.
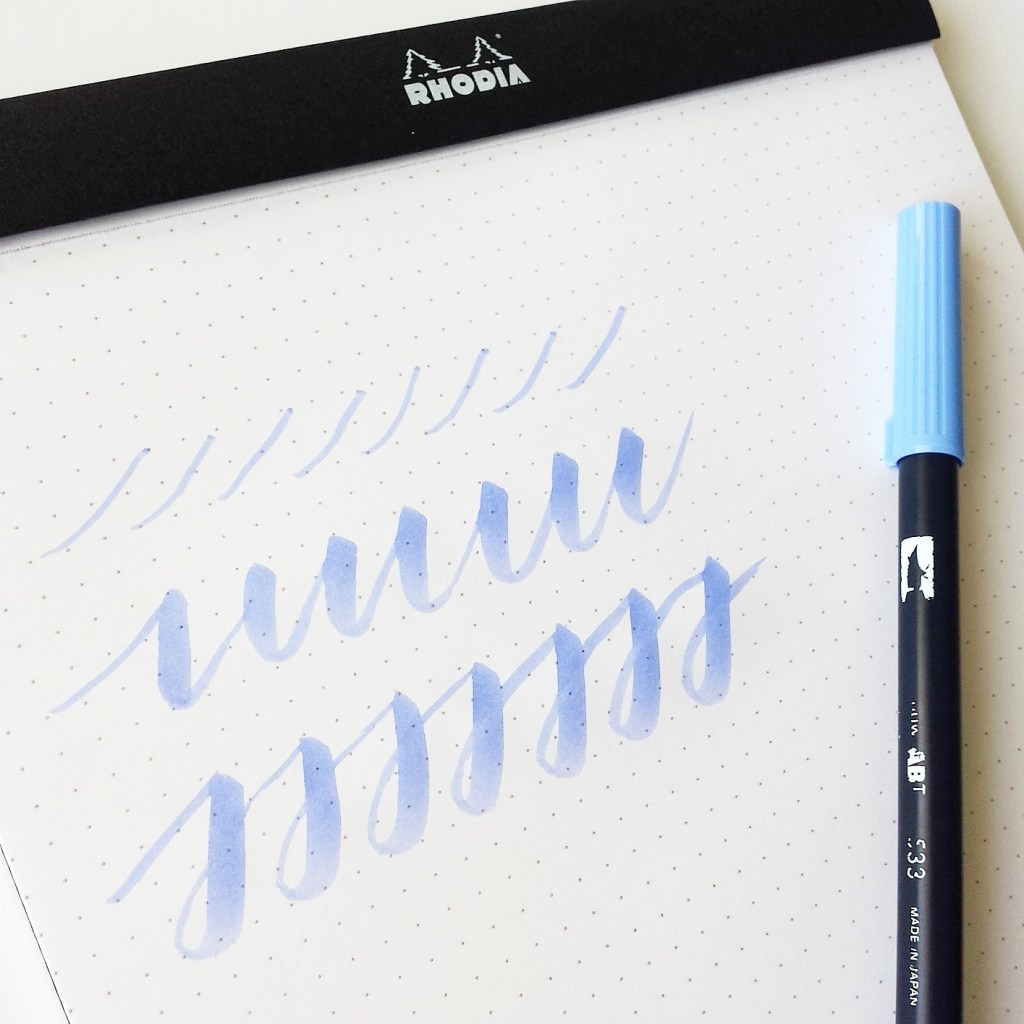
To see me doing this drill in action, you can find a quick video on this drill here.
And at last, I am excited to share with you a video longer than my usual 15-second Instagram clips. The video covers the Tombow dual brush pen briefly and I demonstrate how I write with it.
This is a huge step for me, as I have always wanted to film more in-depth videos and get into video editing. You are doing me a huge honor viewing my first full-length video! Thank you for your time.
~ ~ ~
Need more?
Find these pens at Tombow online.
Check out this brush tutorial from The Postman’s Knock.
~ ~ ~
It’s your turn!
What did you think of the Tombow dual brush pen overview?
Did you learn something new?
What is one thing regarding brush pens that you are struggling with?
~ ~ ~
P.S. If you liked this post, I’d love if you would share it!
P. P. S. Be sure you are subscribed to my blog below so you don’t miss a post!

Leave a Comment