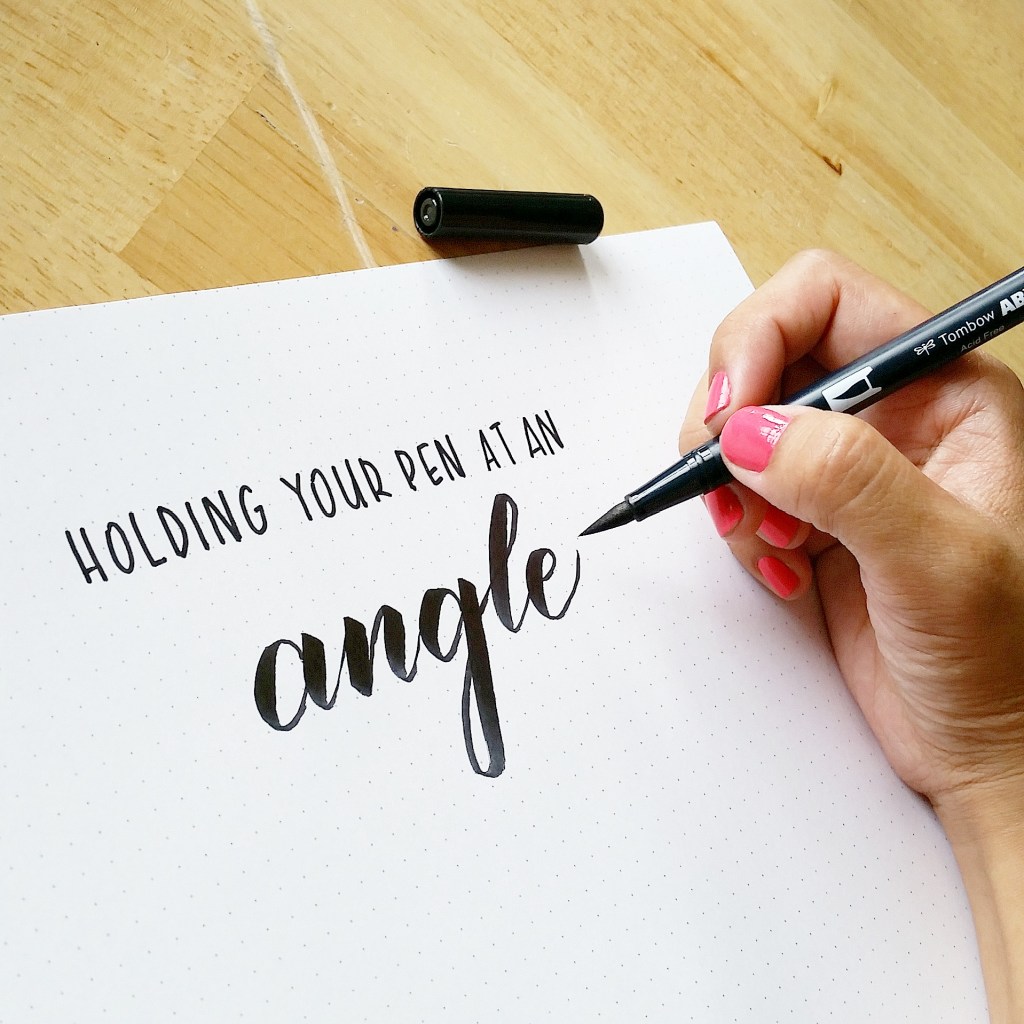
I’ve written about brush calligraphy being defined by its distinct thin and thick strokes.
I’ve shared my favorite brush pens and how they work to create brush calligraphy.
But some of you are still wondering, how does it really work? What is involved with this process of creating brush calligraphy? How do you get the words from pen to page?
This post is the first of many I plan to write in which I break down the art of brush calligraphy to help you understand of how it works. Read on below to about the importance of holding your pen at the right angle below.
And at the very end, I demonstrate these concepts in a new video!
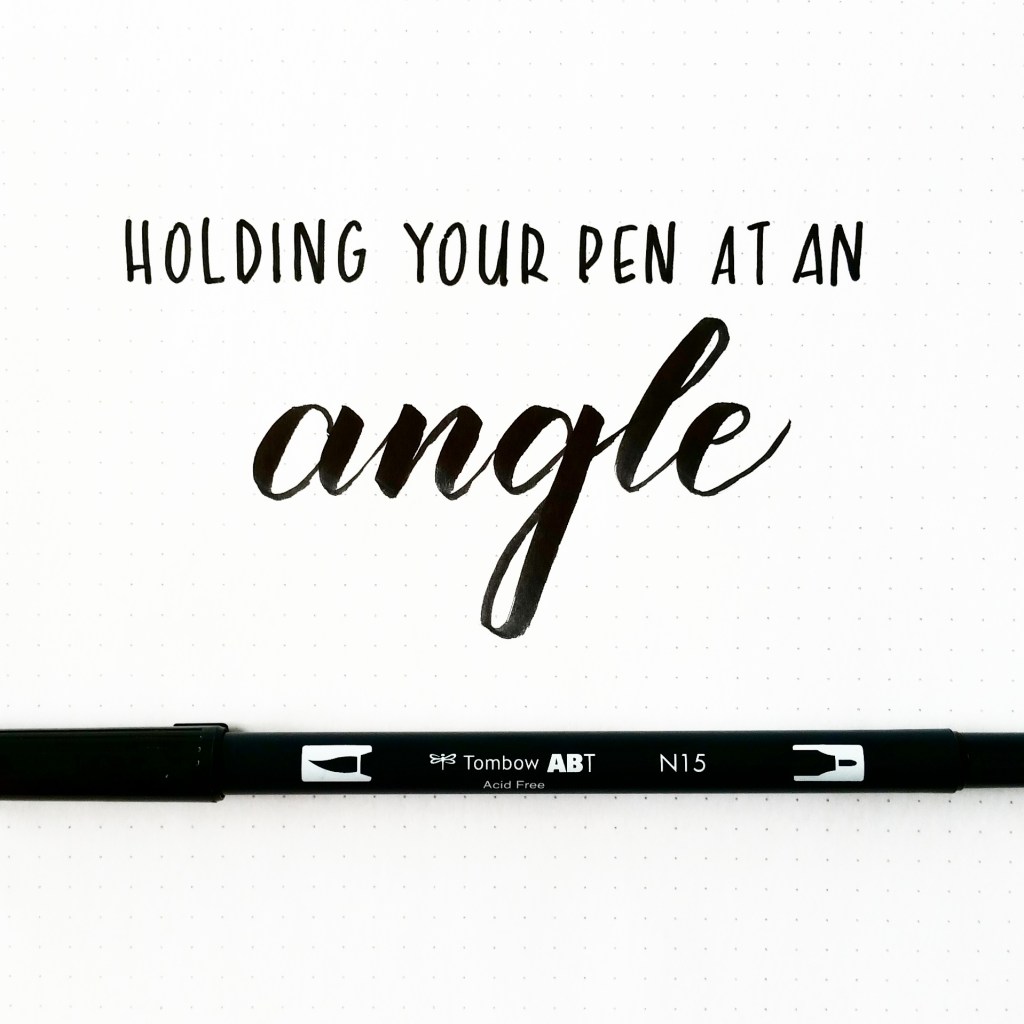
It’s all about the angle
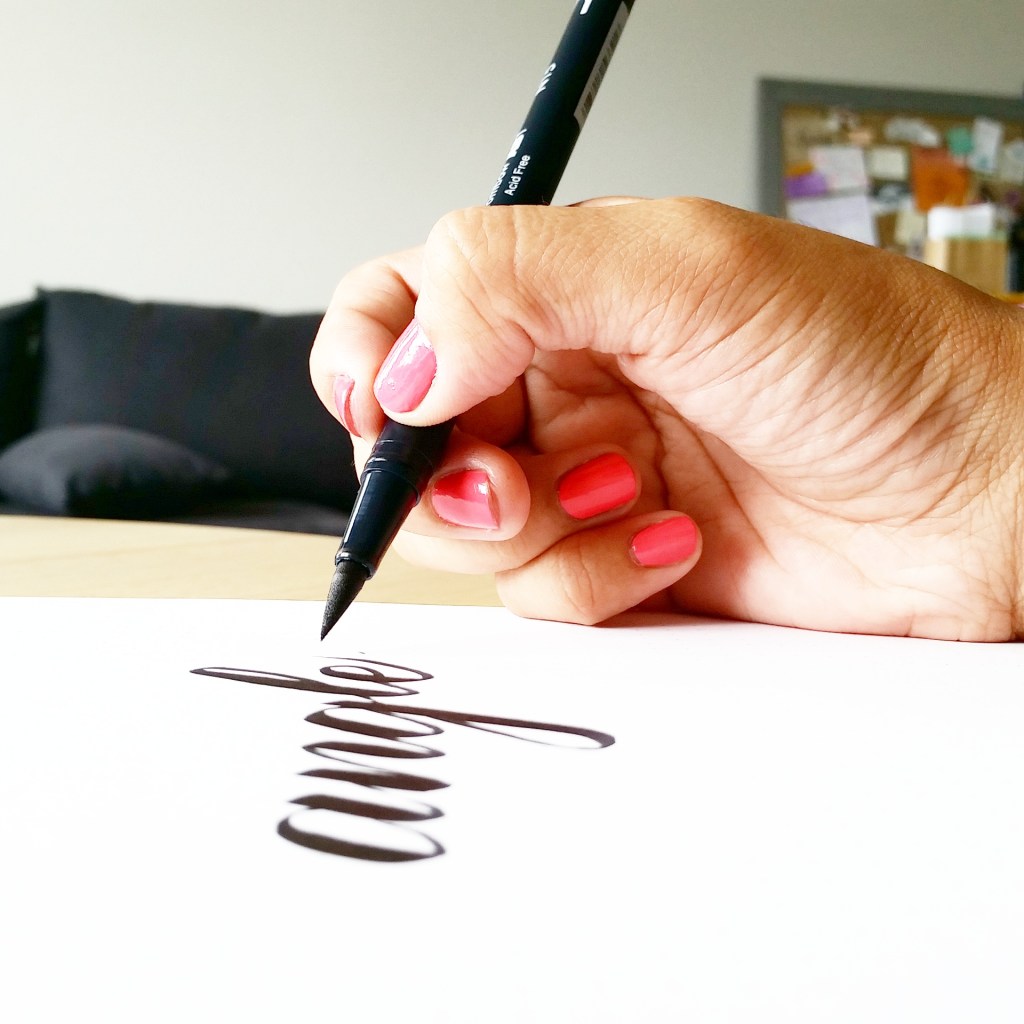
When holding the brush pen, it’s all about the angle.
Your positioning, both of your arm and body, is also important. And the direction your paper faces also matters. But the angle at which you hold your brush pen will allow you to create those thick and thin strokes.
And don’t just hold it at an angle. You must also maintain your grip as you write. You will naturally make subtle position changes when necessary. But overall, you should always be holding the pen at an angle.
Familiarize yourself with the tip of the pen
You want to increase your familiarity and comfort writing with the pen in order to maintain holding the pen at an angle and control the pressure you exert.
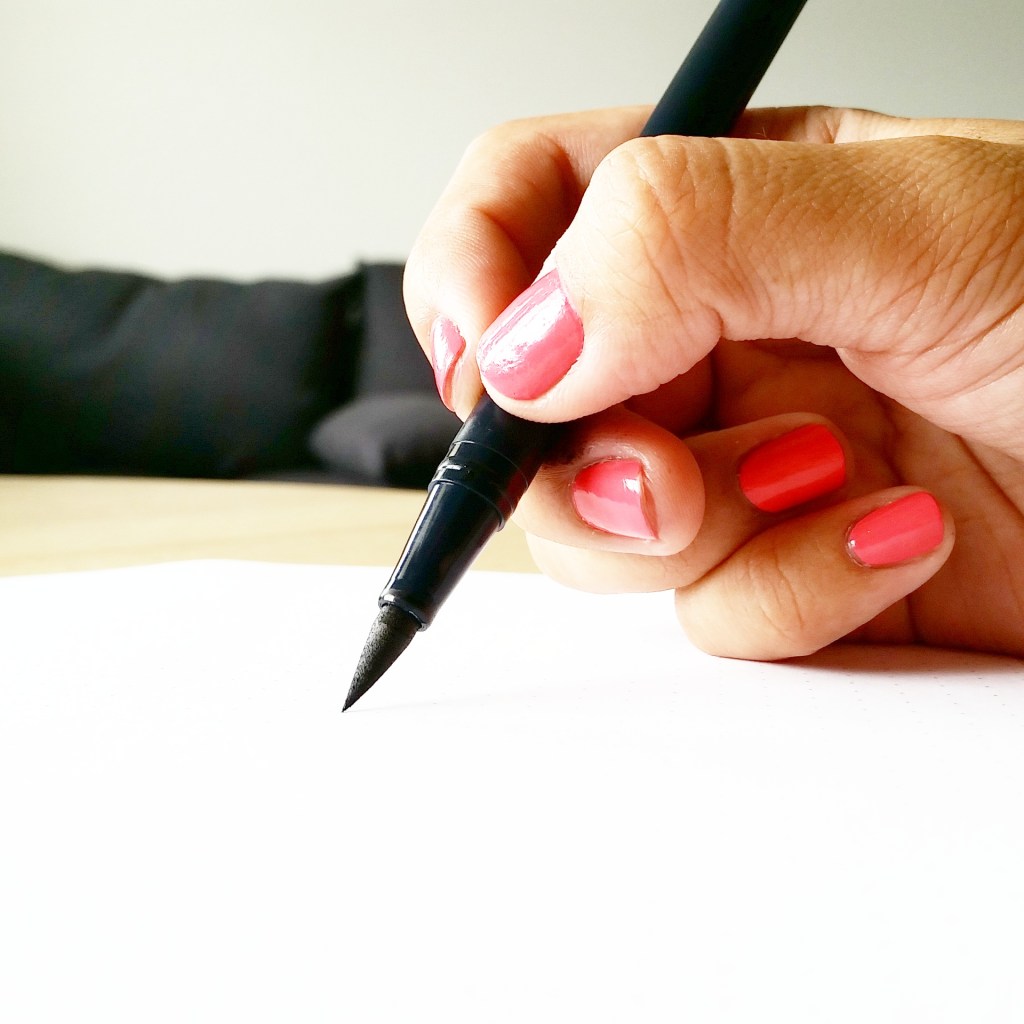
Remember, a brush pen is essentially a marker with a flexible tip. When you are on the upstroke, be sure to apply light to no pressure at all. See my Tombow dual brush pen below? I am barely touching the page as I am about to write a thin upstroke.
And on the downstroke, apply more pressure, allowing the pen to flex on its side and place more ink onto the page.
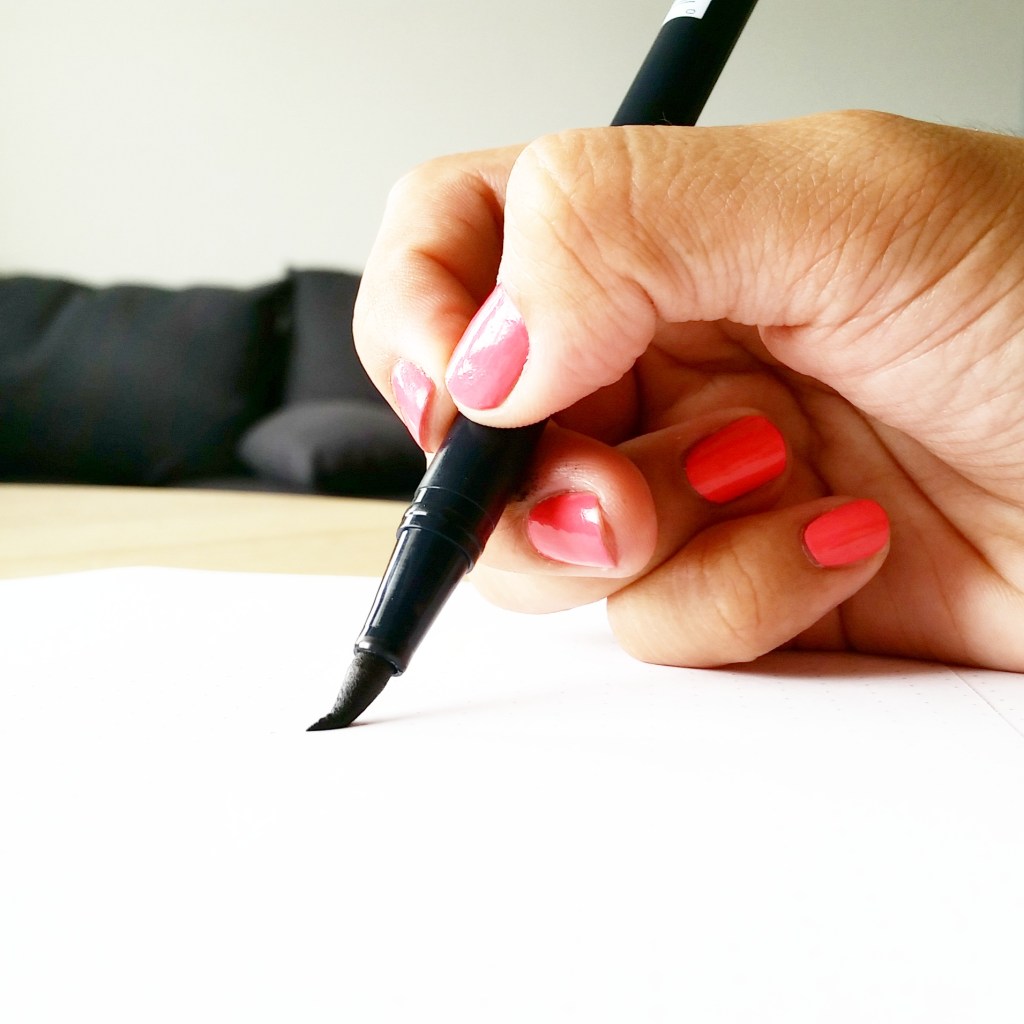
Here’s a quick phrase you can constantly tell yourself: thin up, thick down.
I say this to myself while completing practice drills. It’s tempting to write fast before mastering these strokes. The more you practice, the more you will build that muscle memory and eventually write faster without thinking too hard about when to apply pressure and how to hold your pen.
Do not hold the pen upright
The brush pen is not used solely for calligraphy purposes. It is used quite often for drawing, sketching, shading, handlettering (non-calligraphy), or regualr print. In these situations, the required angle of the pen varies depending on the desired result. The pressure needed does not follow a rigid structure like with calligraphy.
However, if you want to create brush calligraphy, do not hold the pen upright.
Holding the pen upright prevents you from taking advantage of the pen tip’s flexibility. When the pen is at an angle, it flexes, or bends, and will allow you to create the thin and thick strokes. So if you are holding the pen at less of an angle or too upright, you will not be able to bend the tip appropriately to create much of a variation in stroke width.
Watch this video to see these concepts above in action!
I review the reasons why you should hold your pen at an angle and demonstrate the difference between holding the pen at an angle and holding the pen upright. Enjoy!
~ ~ ~
It’s your turn! Tell me in a comment below:
What do you find challenging about holding the brush pen?
Do you have any tips or advice to add on holding the brush pen? Please share!
~ ~ ~
P.S. If you liked this post, please share it with a friend!
P. P. S. If you haven’t already done so, subscribe to my blog below so you get my posts directly in your inbox!


Leave a Comment