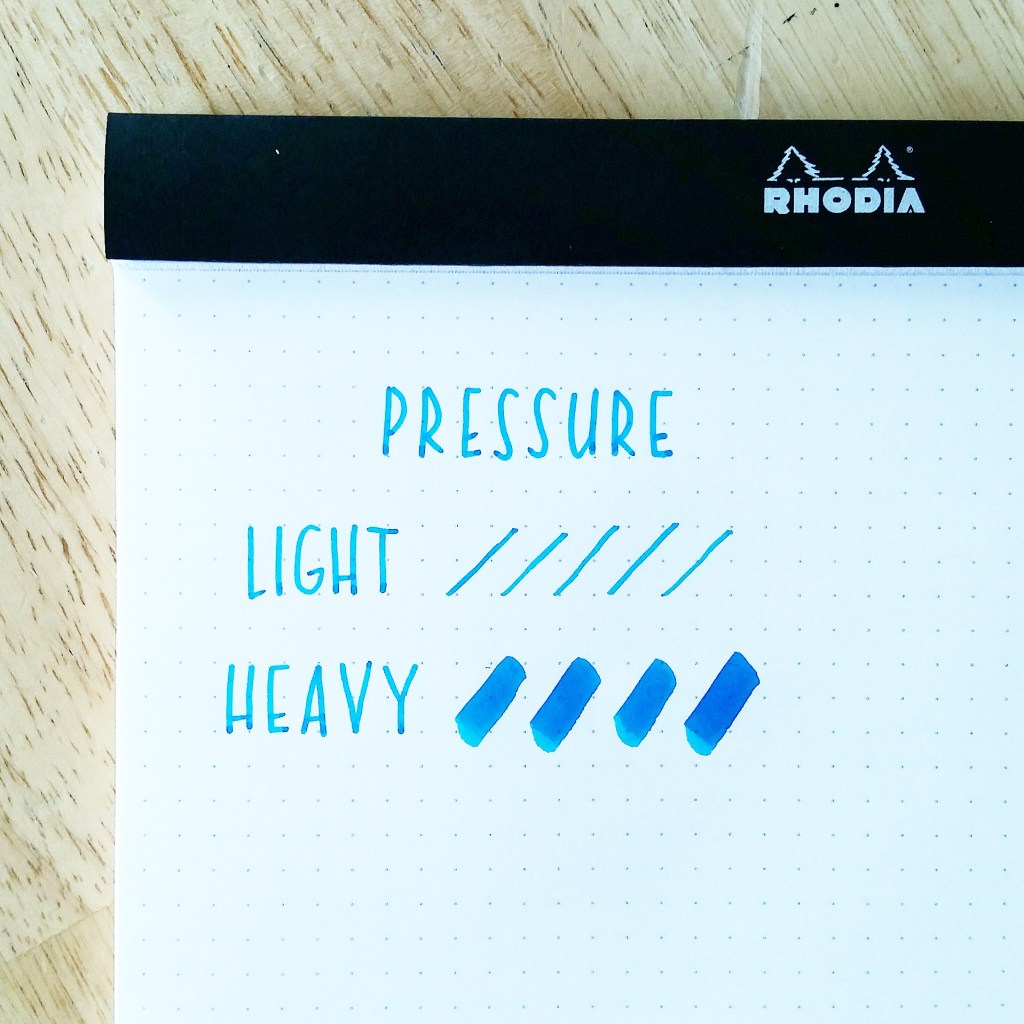
When it comes to brush calligraphy, it’s important to really understand what is meant by “pressure.”
Many tutorials and tips (mine included) emphasize the use of varying amounts of pressure, but what exactly is pressure? How do you create it? How do you control it? Can you apply the wrong pressure?
What is pressure?
Pressure is the act of exerting force of an object (such as a brush pen) onto something else (such as a piece of paper).
Pressure can be heavy and forceful, or it can be light and gentle. As I explained in a previous post on creating thick and thin strokes, you apply heavy pressure to create thick downstrokes and you apply light pressure to create thin upstrokes.
How do you create pressure?
You create pressure by pressing your brush pen down with force.
It is important to first be sure you are holding your pen correctly, so that you can apply pressure appropriately. (Check back to this post on holding the brush pen and this post on finding the right angle.)
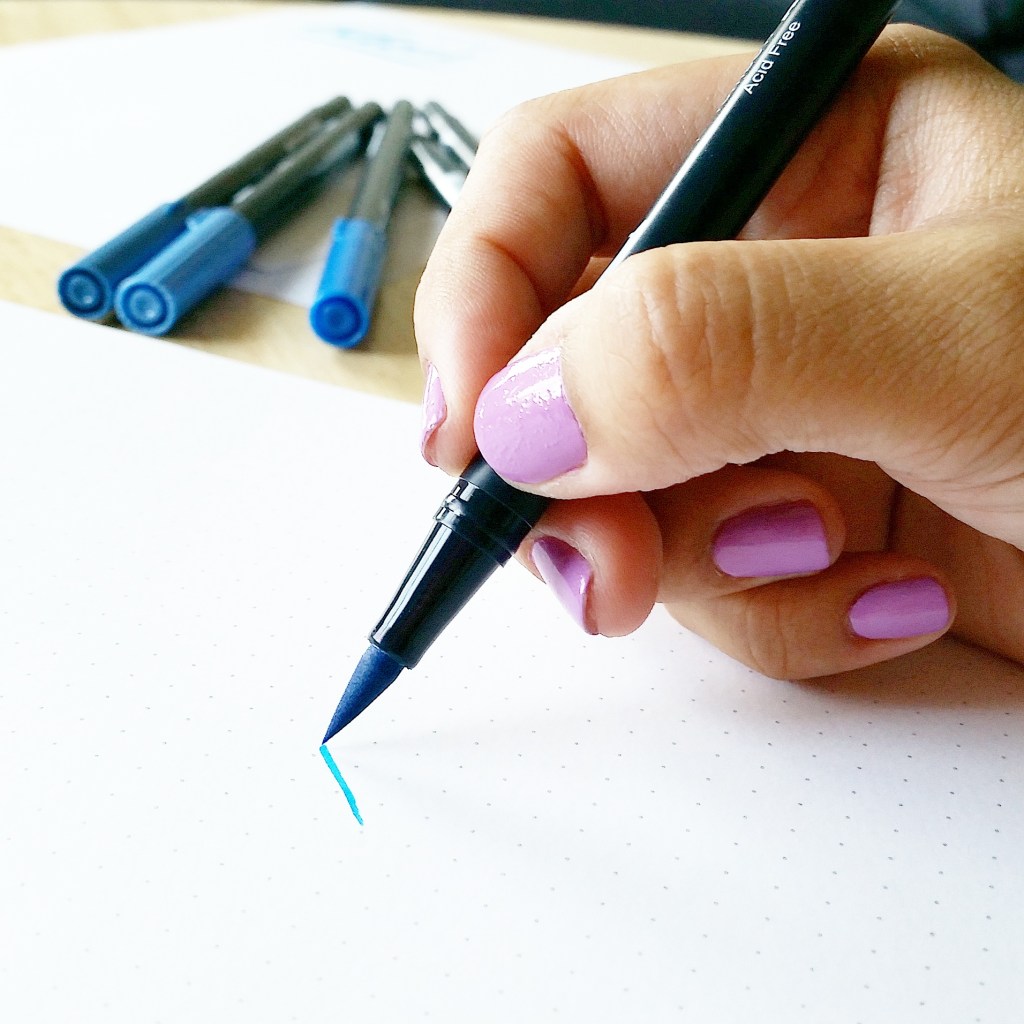
You take the pen in your hand and place it onto the page. You press down the pen closer to the page in order to push the pen tip into the page. The pressure comes in the amount of force your are exerting onto the page with your pen.
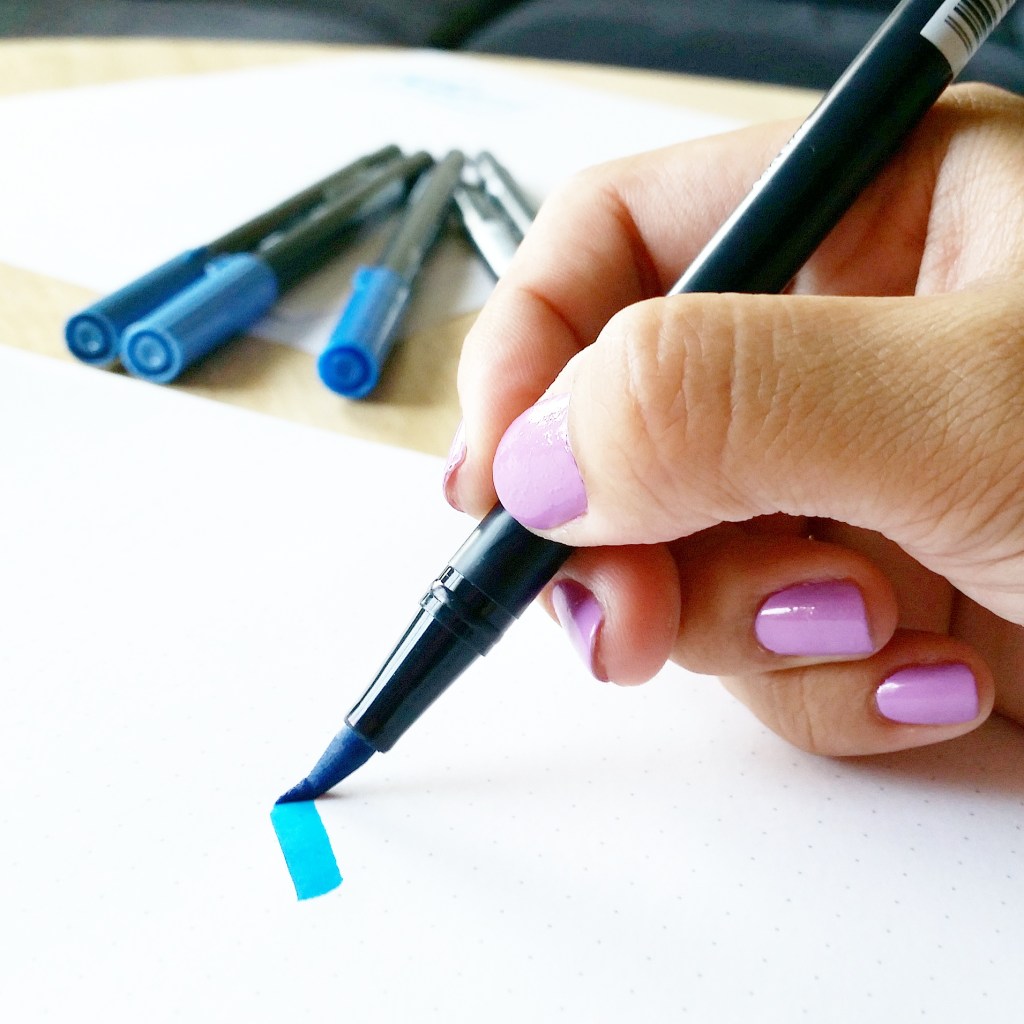
How do you control pressure?
Controlling the pressure can be tricky when you are first learning brush calligraphy. A huge part of gaining control is knowing your pen. Be sure to get familiar with your pen and learn how to hold it correctly.
To control the pressure you exert, practice varying amounts of pressure for long periods of time. For example, start with the lightest amount of pressure you can exert, one in which you are barely touching the page. Create strokes with this amount of pressure only and fill an entire page with that stroke. Then, increase the amount of pressure slightly, and fill a new page with that stroke. This post on creating thin and thick lines demonstrates these types of practice drills that help you develop control over pressure.
The biggest advice that has helped me develop a good sense of control is to break down my words and letters and go slow. If you get too much ahead of yourself and try to write long paragraphs before you master basic strokes, you will find it difficult and frustrating to master control over your pen. And as my mom has always told me, haste makes waste. Do not rush or else you risk compromising quality and the ability to improve your strokes based on the pressure you exert.
Can you apply the wrong pressure?
Yes!
If your pen is not held in the proper angle, you will not exert effective pressure. You must be holding your pen at the right angle in order for the pen tip to create the strokes that define brush calligraphy. Read more about holding your brush pen at the right angle in this post.
Video: Applying pressure in brush calligraphy
In the following video, I demonstrate how to apply light pressure for achieving thin strokes, and heavy pressure for downstrokes for achieving thick strokes. These strokes are great for practicing control over the brush pen, which in turn contributes to better control of your brush calligraphy.
~ ~ ~
It’s your turn! Tell me in a comment below:
How do you practice applying the right amount of pressure for calligraphy?
Do you have a strategy to share for applying pressure to brush pens?
~ ~ ~
P.S. If you liked this post, please share it with a friend!
P. P. S. If you haven’t already done so, subscribe to my blog below so you get my posts directly in your inbox!


Leave a Comment