The world of handlettering is vast and extends far to each corner of the world. It’s amazing, but can be a bit scary. There is a lot to learn and tons of content being produced every second, and you wonder if you could ever “catch up” or be as good as you hope to be.
While it can be intimidating and overwhelming as you discover more in the creative community, getting started does not have to be complicated. This post is designed to help you get started so you can begin your own handlettering journey today!
Grab a cup of coffee (or tea!) and read on below to see how you can start lettering today!

Gather Your Supplies
To start handlettering, you really need two things: paper and a writing tool! Nothing fancy, no special paper or expensive calligraphy pens. You can get those later. 🙂 If you want to learn about more advanced supplies, you can see my favorite supplies in this post, or my favorite brush pens in this post.
For now, take a look around you (you may have to get up and walk around). Grab a piece of paper and something to write with, it can be anything!

I have even written on the back of receipts and scrap paper. I have used nearly any writing tool within my reach: pencils, ballpoint pens, markers, highlighters, chalk, and crayon.
Did you get your paper and writing tool yet? Go get them now and then continue reading.
Line it up
Yes, you could try writing without lines. But if you’re like me, you writing starts to slant and follow an odd (and often crooked) line of its own! Not to mention how challenging it is to maintain a consistent height and width the entire time!
Make things easy on yourself. Draw a few lines across the page to prepare the space for you to begin writing. Trust me. If you do not set yourself up for success, you will waste tons of paper and you will be frustrated not being able to focus on the actual letterforms because you cannot write straight.

Only exceptions: If you already have lined paper (skip this step!) or if you are a machine and write straight and perfect naturally. Then I would just be jealous of you.
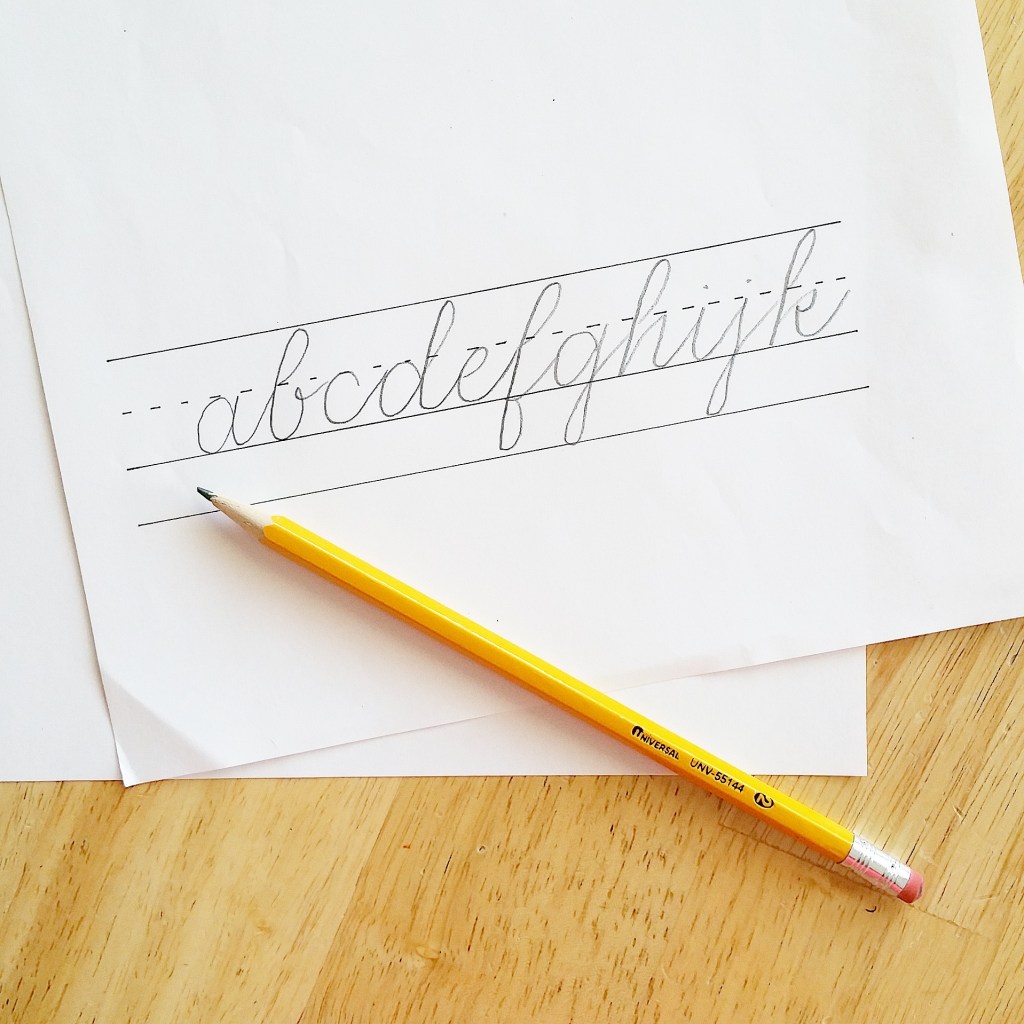
Practice writing the alphabet
Like with anything new that you learn, you have to start with the basics. You must establish a solid foundation before proceeding to the next step.
What better basic concept is there to begin with than practicing the alphabet?! You learned the alphabet as a child and use it every day. It’s something very familiar to you, and therefore it serves as a great way to practice handlettering.

Do you literally just start writing your A-B-Cs? Yes! Write as you do any other day, but this time, go slow. Write each letter out carefully. Be mindful of staying in the lines and be conscious of how the letters are made up of individual strokes.
To see actual drills and learn more about breaking down the alphabet into specific strokes, read this post on improving brush calligraphy or this post on practicing thick and thin strokes.

Or better yet, join me and my friend Nina on Instagram in an alphabet challenge called #handletteredABCs! We started very recently and it’s never too late to join. The idea is to commit yourself to focusing on one letter a day, sharing your work with others, and learning from others as you browse the hundreds of posts already added to the hashtag.
Video: Start handlettering today
Watch this video to learn how you can start handlettering today!
Resources
Need more? Visit these amazing resources to get started with calligraphy and lettering!
I Still Love Calligraphy (Melissa Esplin)
The Ultimate Modern Calligraphy Starter Kit (The Postman’s Knock)
~ ~ ~
It’s your turn!
Are you interested in handlettering? Where are you in your handlettering journey?
To help me prepare for future blog posts, what is something you want to learn more about?
~ ~ ~
P.S. If you liked this post, I’d love if you would share it!
P. P. S. Be sure you are subscribed to my blog below so you don’t miss a post!

Leave a Comment