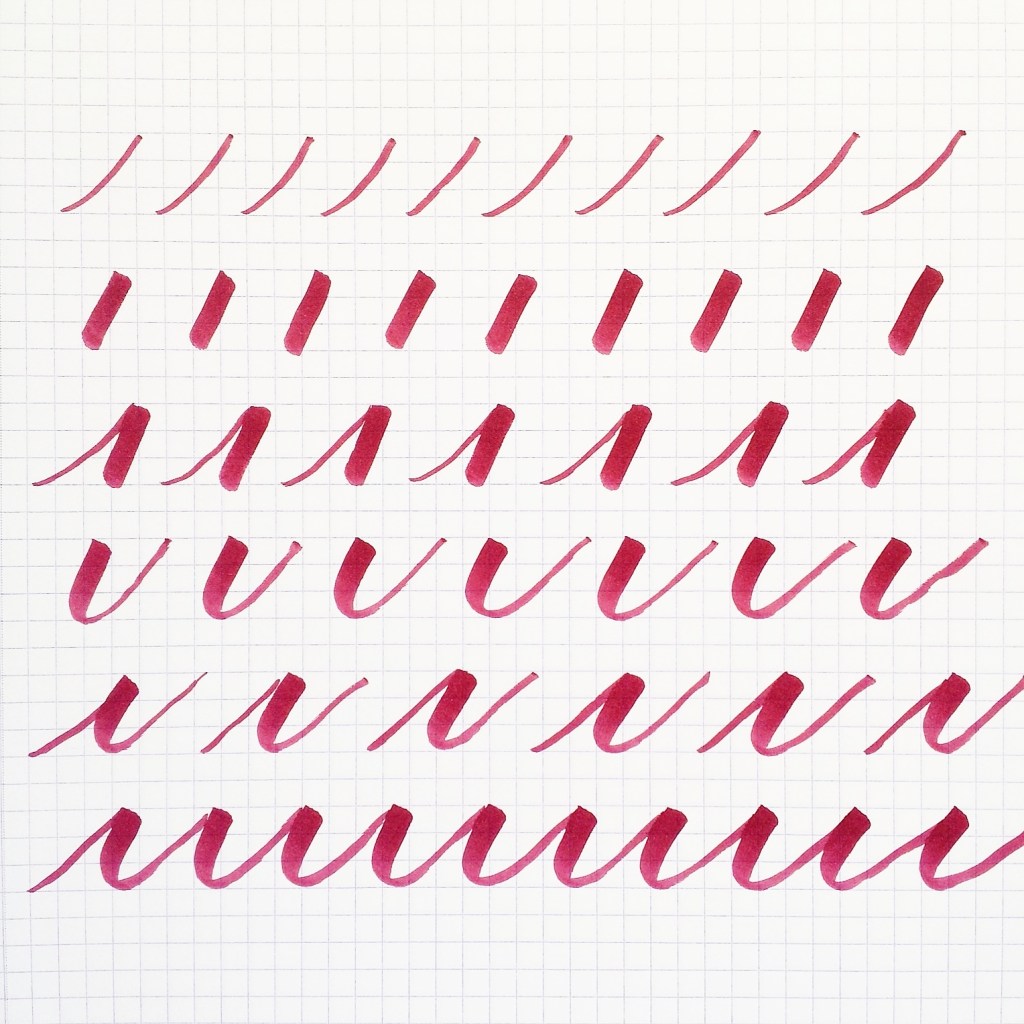
The variation of thick and thin strokes truly define calligraphy. It is important to practice these different strokes and understand how they connect to form each letter. This is advice I am sharing with you that I wish I could have embraced better when I first started.
When I first started doing calligraphy, I wanted to hurry up and learn the basics so I could move on from simple strokes to writing full song lyrics and wedding vows. After wasting tons of paper, I quickly realized the importance taking the right steps instead of jumping ahead.
As I mentioned last week, slow is smooth and smooth is fast. You must (I repeat, YOU MUST!) go slow. Don’t rush it, don’t skip steps. You will get there. As with anything challenging, learning brush calligraphy takes time and patience.
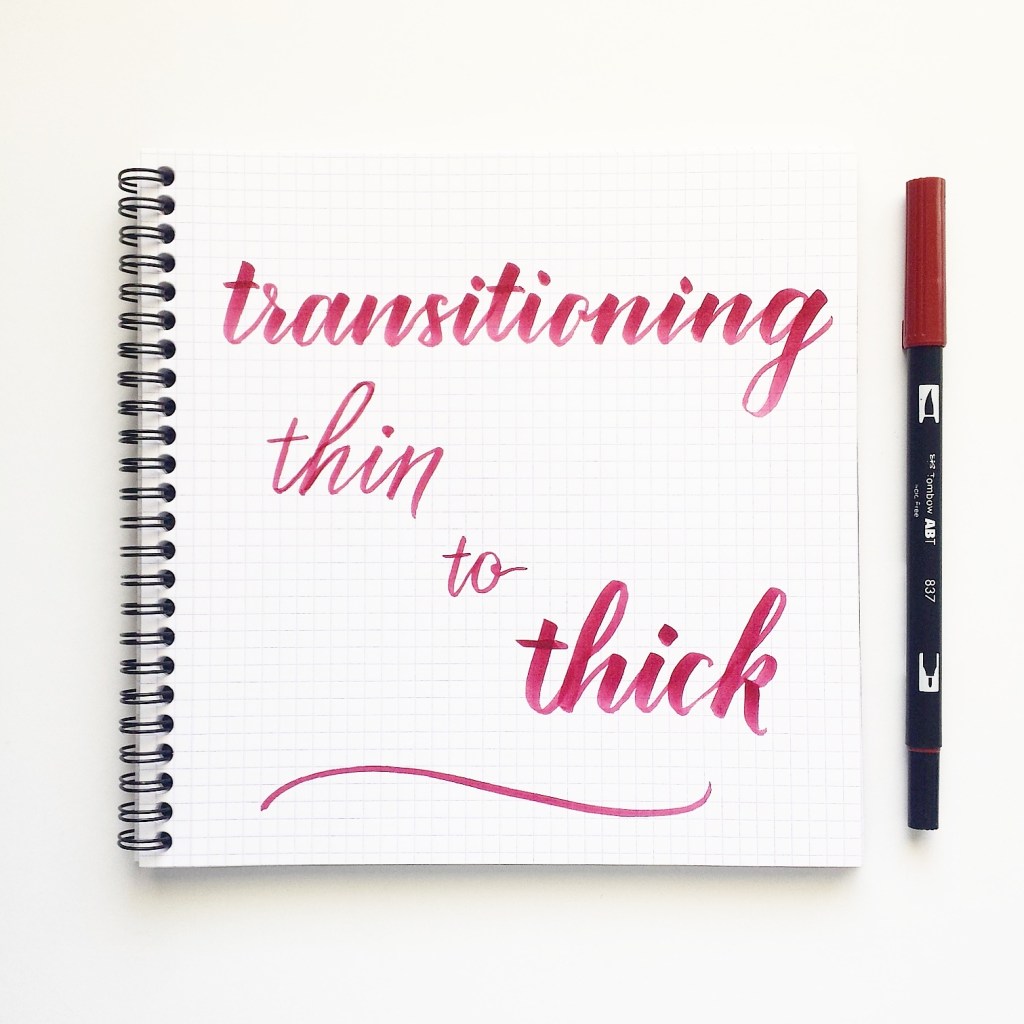
Try these tips to better understand transitioning from thin to thick lines:
1. Get familiar with your pen.
Every pen is different. Some have more flexible tips than others, some have bigger tips than others. These factors translate into how much pressure you need to put to achieve the various strokes. It also defines the stroke sizes you can expect from the pen.
Do this 3-part exercise with every pen you try:
- Write a small stroke, about an inch in length, with as little pressure as you can. Think “hairline.” Barely touch page.
- Then write the same strokes with a little bit more pressure, sort of like a medium pressure. Both this stroke and the hairline take the most control (don’t worry if you’re shaky).
- Now write with full pressure! Press down as you write the strokes to the max the pen tip will allow you to.
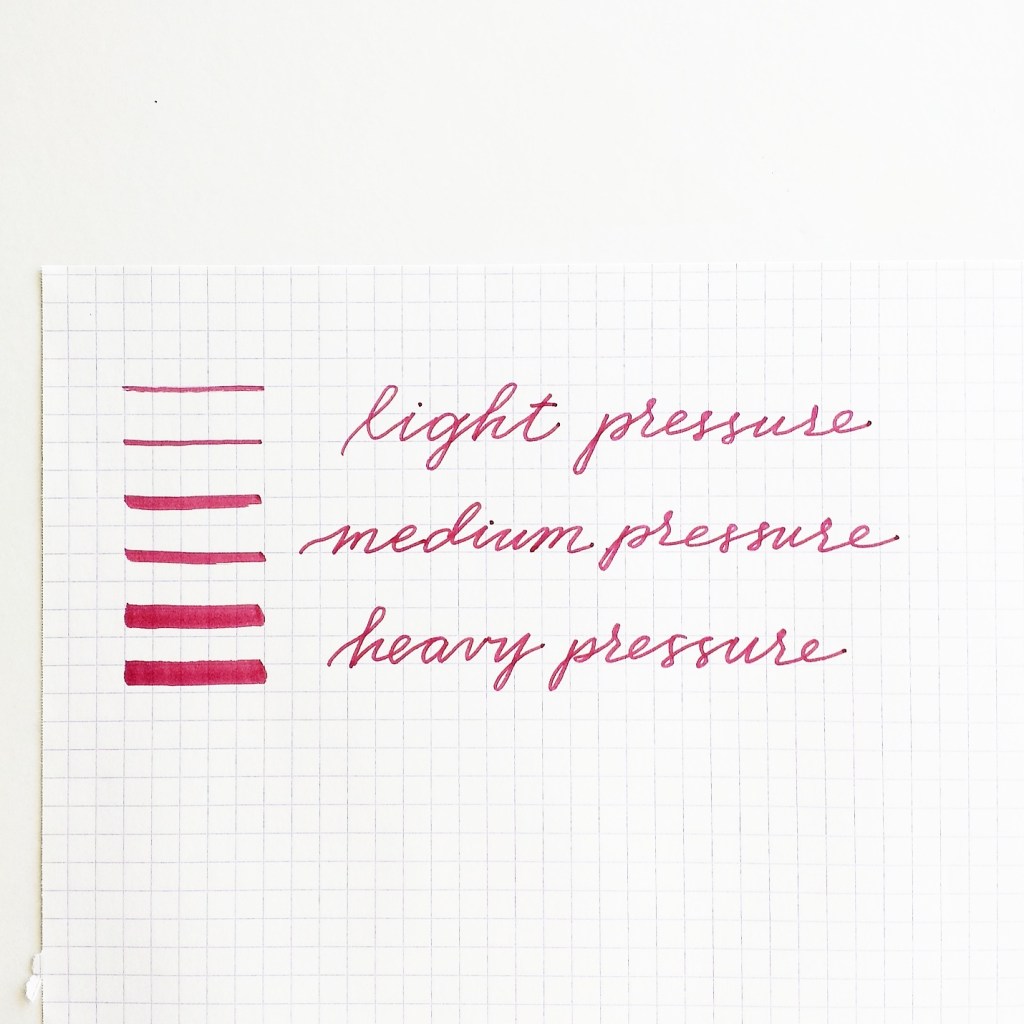
Doing these three different strokes with EVERY PEN you try will help you better understand its limitations. This is crucial to learning how your writing will turn out.
2. Strive for consistency
Consistency will allow you to build that muscle memory. Consistency will free you from struggling to remember how a letter should look. Consistency will give you the confidence to write smoothly.
Don’t strive for perfection. Instead, be consistent.
Try these strokes below. You’ll notice I gradually went from single strokes to connecting them.
This is the practice you need to commit yourself to each day, or each chance you get to practice. Don’t rush into the words. They will come. Build a solid foundation first and develop good habits now.
3. Learn when to transition.
Now it’s time to study each letter.
Notice how each of the letter below are made up of individual strokes. See the way they connect to each other. Observe where each stroke transitions from thick to thin and vice versa.
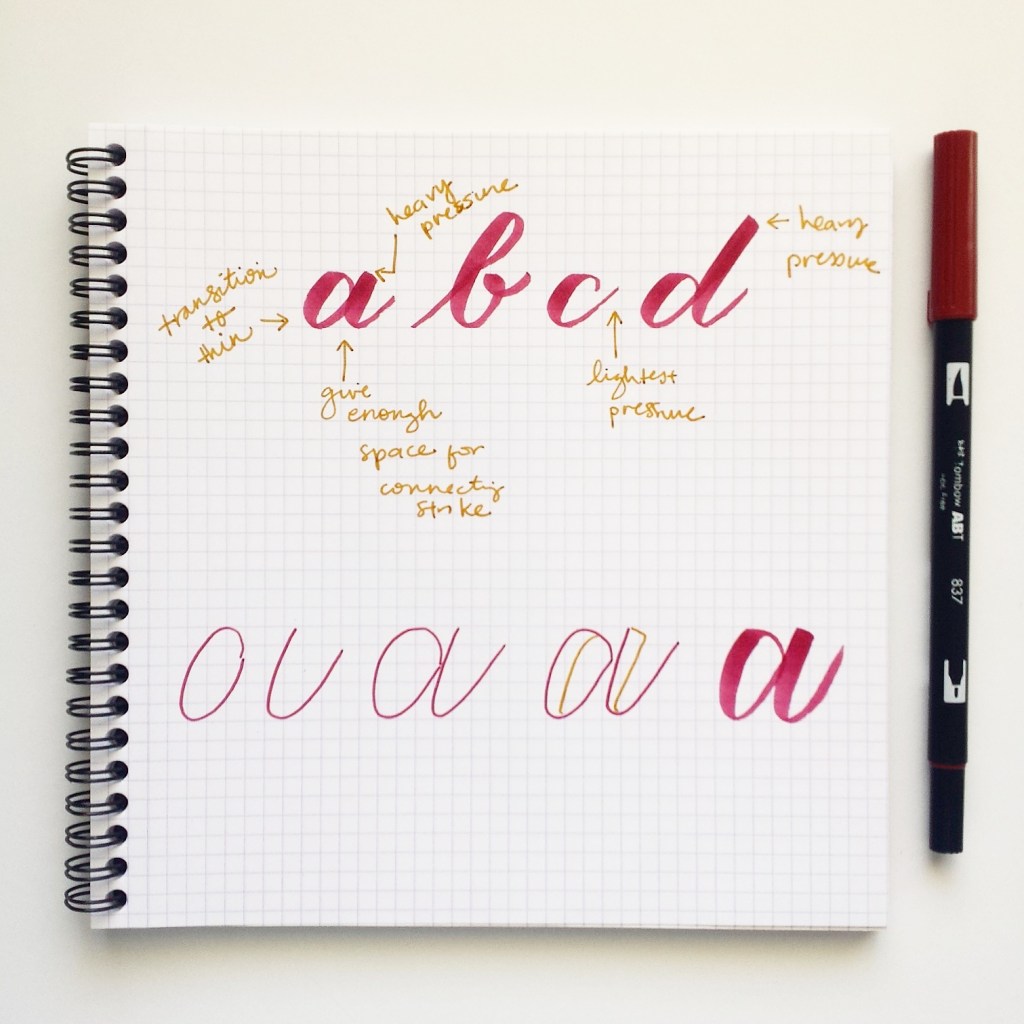
In my demonstration below, observe how I break down each stroke of the letter “a” and then slowly build up the steps to create the final version.
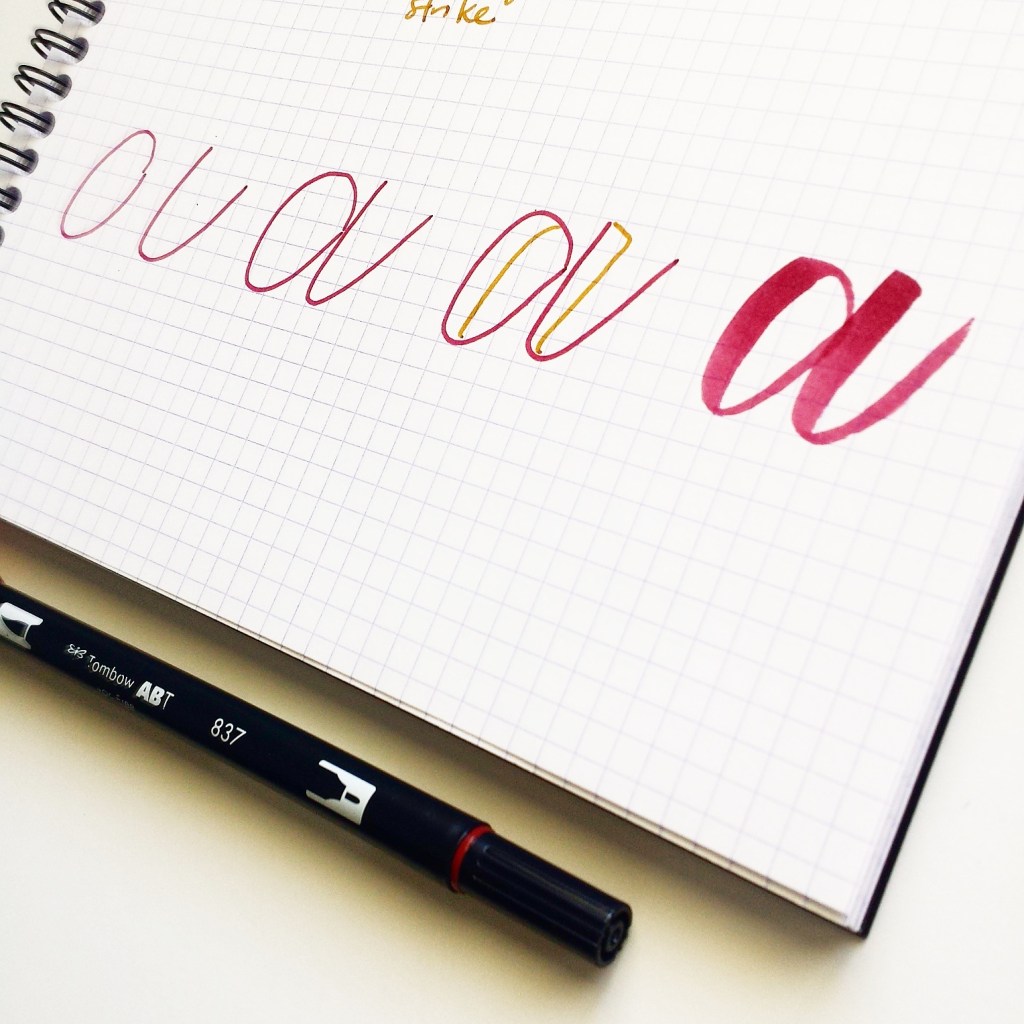
As I explained in last weeks blog on improving brush calligraphy, it is important to take the time to break down a letter to its bare bones, and then slowly build that letter.
Watch my demonstration below to see all of these tips in action!
Thanks for reading and watching! Happy writing!!!
~ ~ ~
It’s your turn!
What other questions do you have about brush calligraphy?
Which tip would you like to see explained and demonstrated in more depth?
~ ~ ~
P.S. If you liked this post, I’d love if you would share it!
P. P. S. Be sure you are subscribed to my blog below so you don’t miss a post!


Leave a Comment