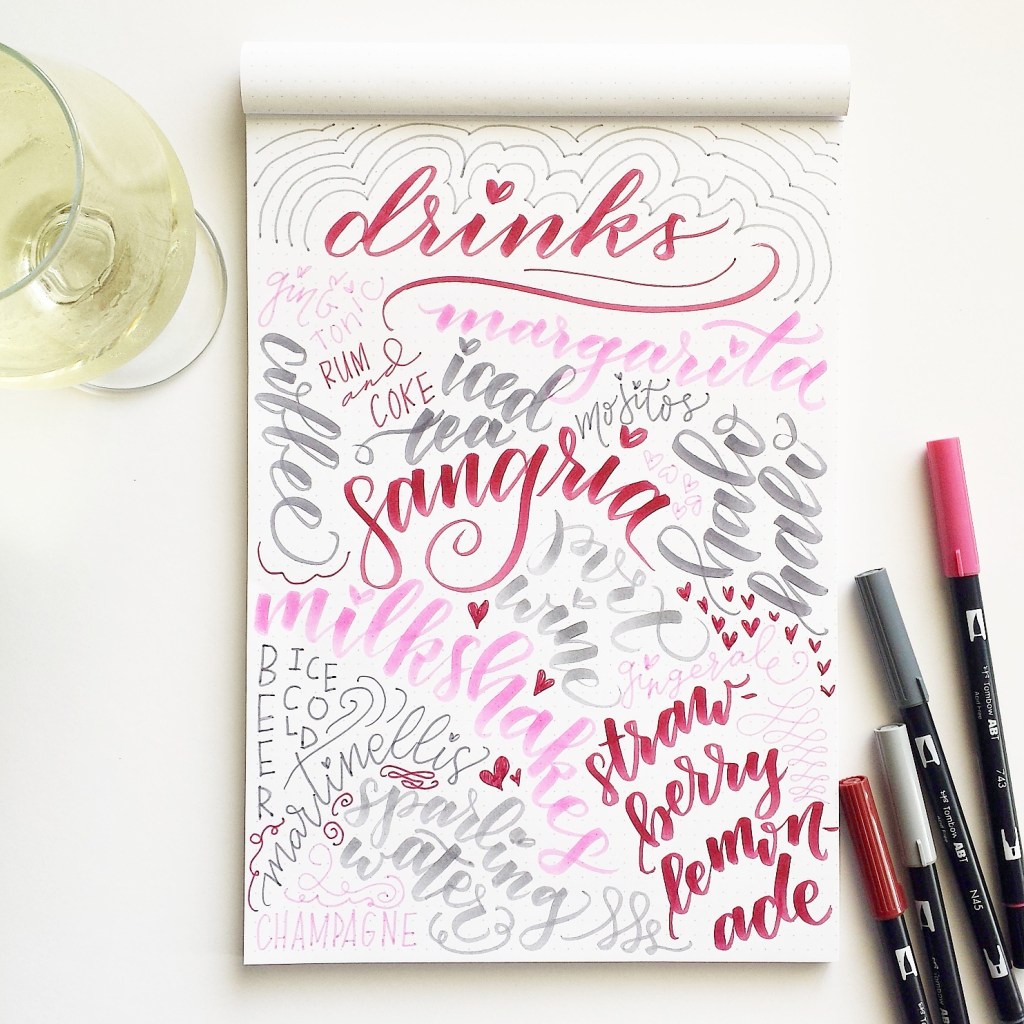
A huge part of my calligraphy process is capturing and showcasing my work.
When I first started my calligraphy journey, I was very shy and hesitant to post a photo, afraid of what others would think. I slowly put my work out there, and very soon discovered how generous and supportive the calligraphy community is!
While it is ideal to view my work in person, I love that I can easily share my pieces on my website and through social media. The beauty of the Internet is the accessibility it provides to people from all across the world. I’ve connected with other calligraphers in other cities, states, and countries!
If a picture is worth a thousand words, you can bet I’m going to make it a point to choose mine carefully.
Note: Assuming you have a smartphone and that you use Instagram, this post will provide some easy tips for enhancing your photos and telling your audience a compelling story. At the moment, I can only speak for camera phone photos that are edited in Instagram. I am not yet savvy with fancy cameras or Photoshop, which makes this post the perfect list of editing tips for non-technical folks like myself.
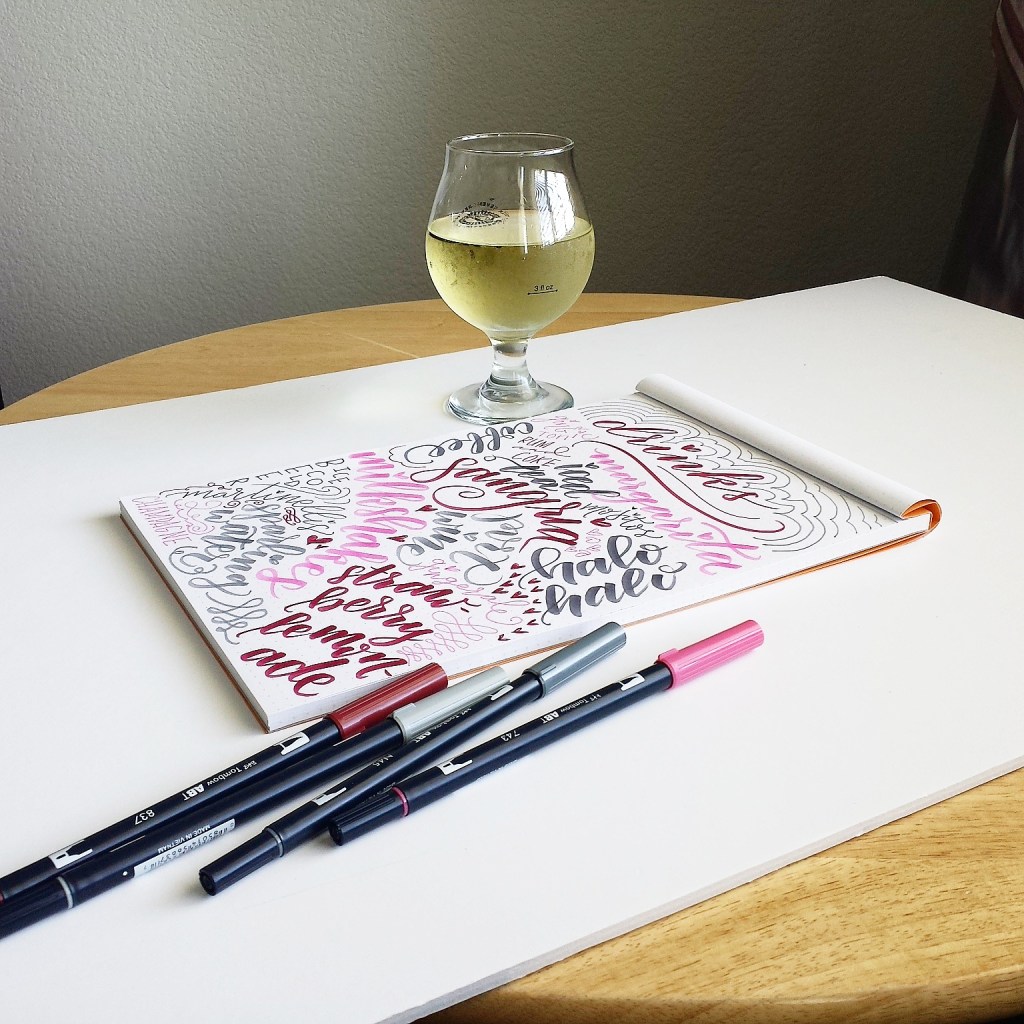
The super easy way to edit your photos is to simply use one of Instagram’s pre-made filters. I don’t use Instagram’s pre-made filters anymore because I’ve found how to manually edit my photos to my liking. But if you are interested, definitely check out each and every filter. Not ever filter fits every photo. Some are designed to enhance warm colors, some create more texture, and some simply turn a colored photo to black and white.
Take the best photo you possibly can
While Instagram has amazing editing capabilities, you want to start off with the best photo you can. I’ll discuss more on product styling and photography in future posts. But for now, here’s a quick check list I typically go through when taking a photo:
- Is there enough natural light?
- Is there a neutral or balancing background?
- Do I have my calligraphy piece and any accompanying accessories ready to go?
- In what way will I use these photos (e.g., blog, Instagram, marketing, portfolio)?
- What mood or emotions do I want to evoke in those who view my photo?
manually edit your photos in Instagram
Once I’ve taken my photo, I open it in Instagram (unless I took it with Instagram itself). Click on the tool icon to get to the editing settings.
Adjust: This feature allows you to straighten/rotate, zoom in (not out), and skew your photo. You want to ensure your photo is as perfectly aligned as possible and has your desired proportions.
Brightness: You should brighten your photos, unless you are outdoor with the perfect amount of light or you have professional lighting equipment. I usually have neither, so I almost always brighten my photos (sometimes by 100%!).
Contrast: Increasing the contrast in your photo to pull out more color and definition. Brightening a photo can sometime wash out colors and edges, so contrast can help you achieve the right balance.
Shadows: Lessen the shadows in your photo. I usually just increase this feature a little bit to lighten my photo. But I avoid lightening it too much, unless I purposely want to go for a more washed out photo.
Sharpen: Sharpening your photo will help especially when your photo is a little too blurry. You’ll want to sharpen your photo just enough to define the lines and edges of your work, but not too much that those lines look harshly drawn.
Finding the right combination
There is never a perfect formula when editing photos. There are so many aspects of the photo to consider and every situation requires a unique amount and type of editing.
An important question to ask yourself is, what is the mood or emotion of your photos you want to set? You may want your photos to be nature-inspired and full of warm colors. Or you may want bold and colorful. Or you may want faded and grayscale. Or you may even want everything black and white. The decisions you make really depend on your personal brand and the story you want to tell.
In future posts, I want to share more of how the photos I take and the way I edit all contribute to my personal brand.
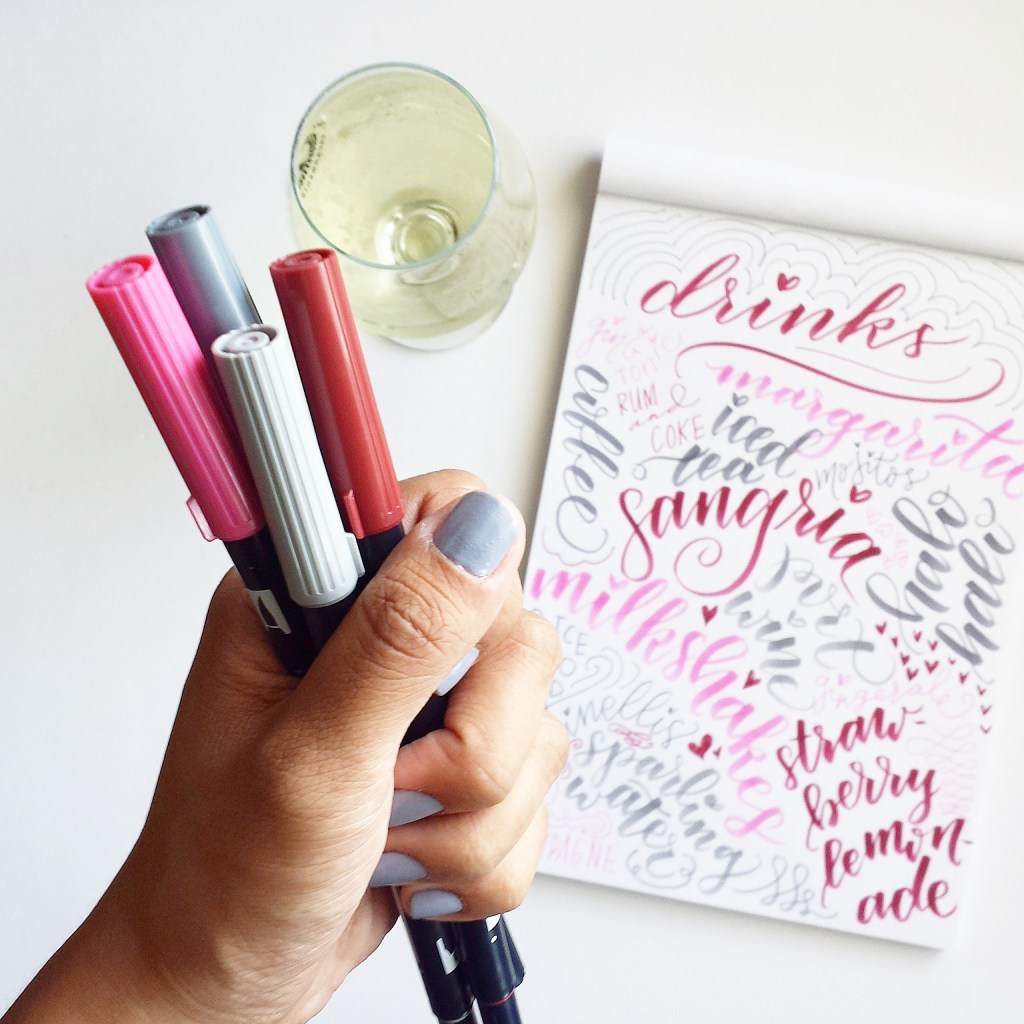
~ ~ ~
It’s your turn! Tell me in a comment below:
What is one thing you would to improve upon when taking photos of your calligraphy work?
Have you tried some of these Instagram editing tips before? Which ones do you use the most (even if they are not described here)?
~ ~ ~
P.S. If you liked this post, share it with a friend!
P. P. S. If you haven’t already done so, subscribe to my blog below so you don’t miss a post!


Leave a Comment