Welcome to Part 3 of my Basic Brush Calligraphy Strokes series!
If you are new to this series, I highly encourage you to get yourself a brush pen and begin practicing with me. If you are on Instagram, share your work by posting it with the hashtag, #pieces_basicstrokes.
Before you get started, be sure to familiarize yourself with these previous posts:
- Brush pens recommended for beginners
- Holding your brush pen properly
- Facing your brush pen in the right direction
Last week, we started off the basic strokes series with the underturn stroke. Now, let’s talk about the overturn stroke!

What is the overturn stroke?
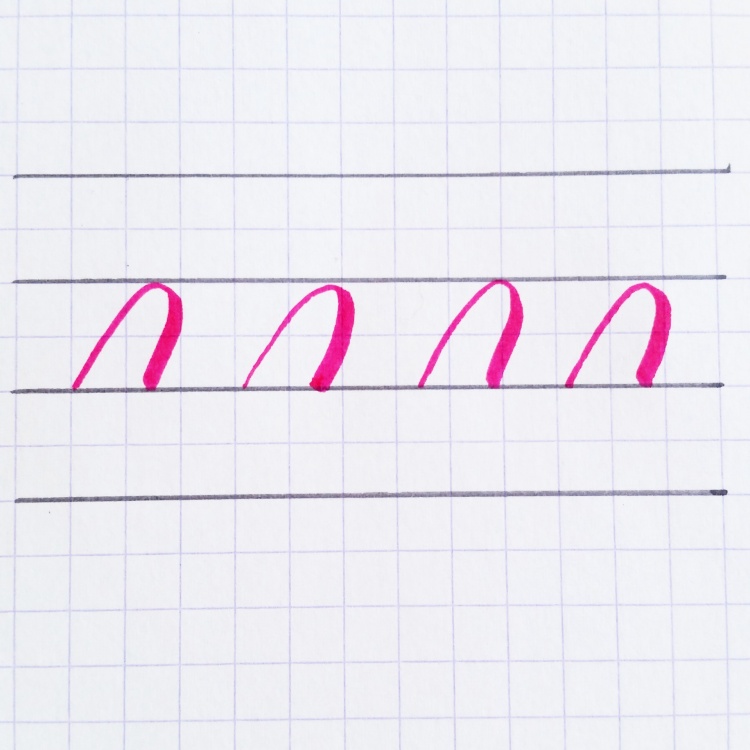
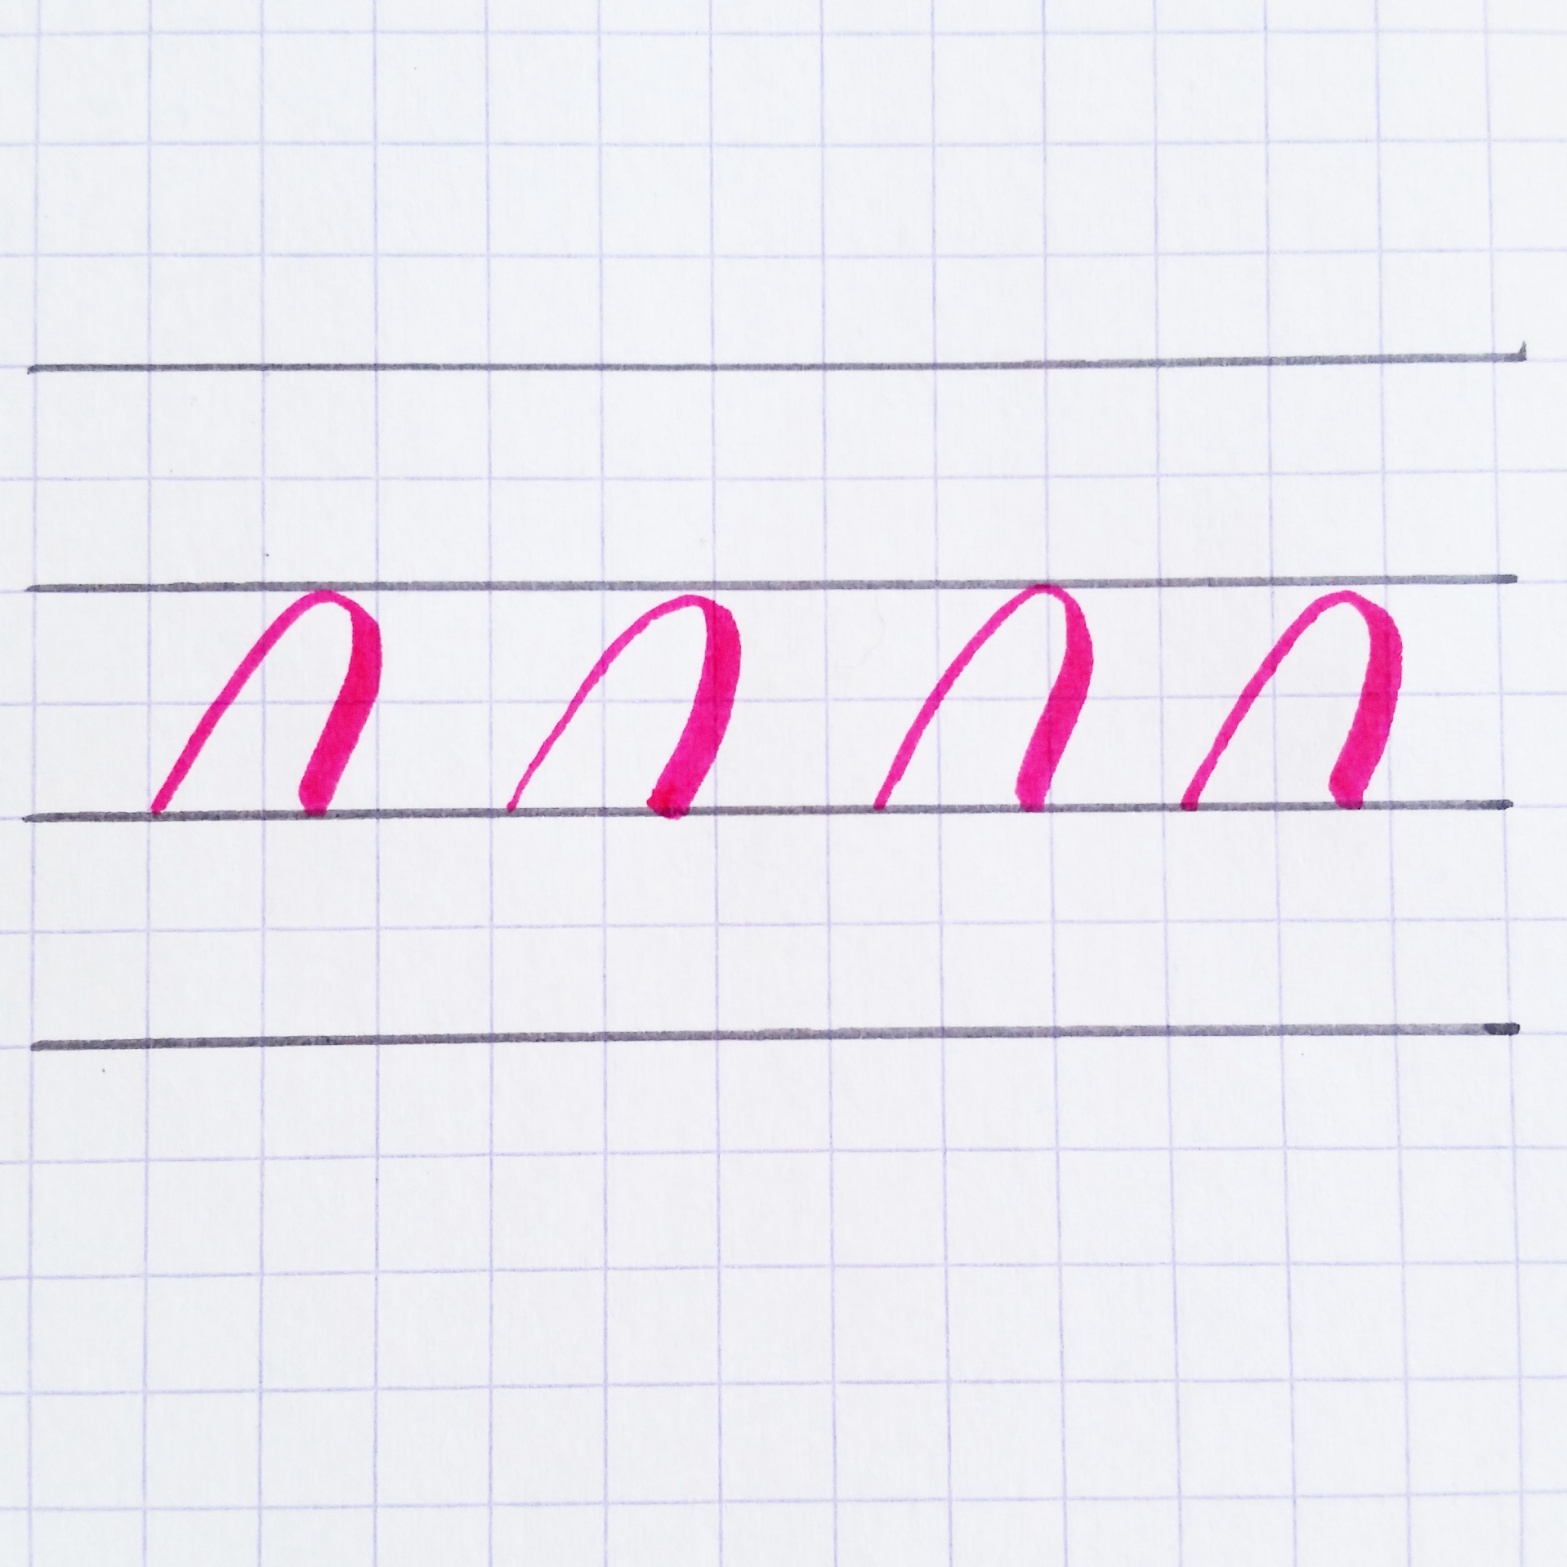
The overturn stroke is an upside-down u-shaped stroke. It starts with a thin upstroke (hairline) from the baseline, reaches the waistline and curves back down, transitioning into a thick downstroke and ending with full pressure at the baseline.

How to create the overturn stroke
To create the overturn stroke, you’ll want to start at the baseline and begin making a thin upstroke.
To create the thin upstroke, or “hairline,” use little to no pressure on your brush pen.
As you approach the waistline, create a curve toward the right that resembles an upside-down u-shape. Touch the waistline, and then begin making your way down toward the baseline.
Once you are drawing your stroke downwards toward the baseline, slowly transition from thin to thick. By the time you reach the baseline, your stroke should be the full thickness.

You may be shaky at first, or unfamiliar with how the stroke should feel as you create it. But as always, practice makes progress. I share practice drills at the end of this post for you to work on.

When to use the overturn stroke
The overturn stroke is used in the letters: m and n.

Practice Drills
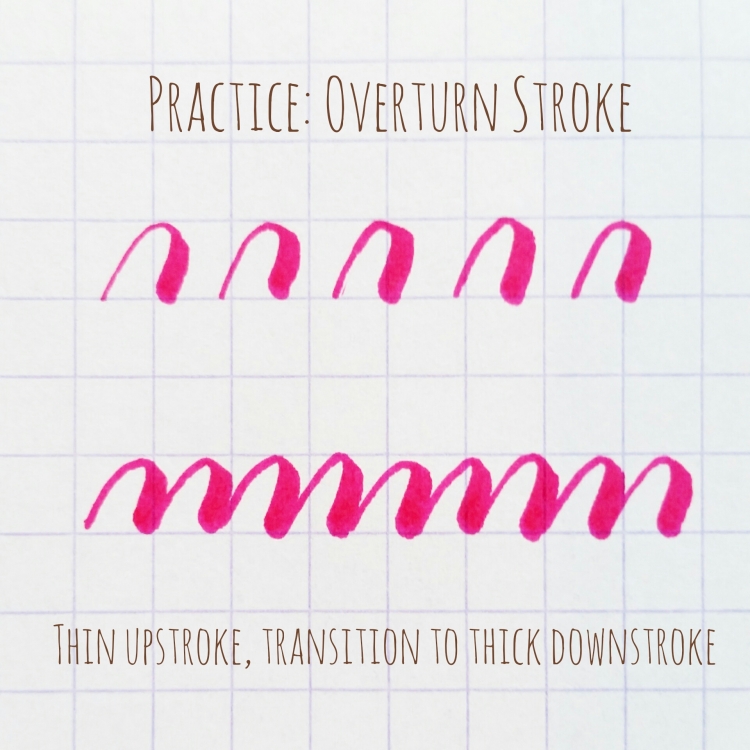
Do these practice drills to improve your overturn stroke.
Don’t worry about being perfect or creating strokes that are completely free of any shakiness. Shakiness is expected in the beginning! When you are still learning the brush pen and when you go slow (which you SHOULD), then shakiness is normal.
The key with the overturn stroke is to maintain the thinness of your upstroke until you reach the waistline, and also through the curve. Do not begin transitioning to thick until after you have touched the waistline AND began the downstroke.
Try these practice drills. Focus on the position of your hand, your grip, your technique, and the forming of the stroke.

- Overturn stroke: Fill a page with overturn strokes. Try to make your strokes the same size, width, and angle. After a couple of overturn strokes, review them and think about how you can improve for the next set.
- Connecting overturn strokes: Connect overturns to each other without any breaks in between. Go slow at first, but try to find a rhythm as you write. This rhythm will help you immensely as you begin to write more. Note: lift your pen completely off the page before starting the next stroke. The idea is to draw the strokes so they appear to be connected, but in actuality, you are creating each stroke individually.
If you mess up, keep going. Focus on the next stroke. Remember that you will only improve when you keep on practicing and experimenting and learning.
Video: The overturn Stroke
Watch the video below to see a demonstration of the overturn stroke and practice drills you can start today!
~ ~ ~
It’s your turn! Tell me in a comment below:
Have you tried the overturn stroke? How would you describe your experiences so far?
What is the hardest part about the overturn stroke for you?
Are you sharing your work on Instagram? Be sure to share by tagging #pieces_basicstrokes!
~ ~ ~
Cheers,

P.S. If you liked this post, please share it with a friend!
P. P. S. If you haven’t already done so, subscribe to my blog below so you get my posts directly in your inbox!
Follow me on Instagram: @piecescalligraphy
Watch more videos on YouTube: piecescalligraphy


I saw a chart on Instagram that had each alphabet letter and columns to indicate which strokes are used for that letter. Is that chart available/downloadable at this time or is it for later when we know more strokes?
Thank you for all of the great examples and encouragement:)
LikeLike
Hi Trish! The chart will be available as soon as I finish it! I am not necessarily waiting to finish the series. Thanks for your interest!
LikeLike
i love your blog so much:) and your tips are amazing!:D
LikeLike
Aww, thanks so much! So happy you are here. Let me know what you need help with!
LikeLike
Hi Sharise,
You said, “Note: lift your pen completely off the page before starting the next page”. I just wanted to make sure I am understanding you correctly. Did you mean lift your pen completely off the page before starting the next stroke? Or maybe I just didn’t understand.
Thanks for clarifying.
Navreet
LikeLike
Hi Navreet! Yes! I do mean lift the pen completely before starting the next stroke. There will be times when may not need to lift the pen, but it is VERY good practice and helps increase your consistency with letterforms. You do not necessarily need to lift it very high. But the point is that you want to be very conscious of where each stroke is starting. I will share more on lifting soon! 🙂
LikeLike
Hi—this is such a wonderful blog, thank you! As a lefty, I am noticing it difficult to get a good thick down stroke on this particular exercise. I think it is partially how the brush moves with the curve. Any tips for that?
LikeLike
Hi Anjyil! Have you seen my posts on lefty tips? Go to my “Learn” page and then check out the “Tips for Lefties” section. See here: piecescalligraphy.com/learn Some tips I can suggest is adjusting your grip so that your pen can maintain a good angle. You want to be sure you are utilizing the thickest part of the pen tip, while avoiding any damage to the pen. Hope that helps! Let me know.
LikeLike
Thanks! I spent the week looking over it. Also realized that I had to apply more pressure and a slight twist to my brush pen to get the thicker line. 🙂 This site is super helpful. It’s a daiso zebra brush pen, but it is one of the thinner variety. Should aim for a thicker brush to get that line.
LikeLike
Thanks! The lefty section was really helfpul and it practicing/adjusting paper/brush, etc, seems to be helping as well. Now that it is going better, my new struggle is ovals haha ^_^ Mostly it is the type of brush pen I am using and the fact that it is well used.
LikeLike
Ovals are tough! Keep practicing, go slow, and remember that it’s very challenging to get your ovals to be perfect every time. Focus instead on the transitions and notice when to vary the pressure on your pen tip.
LikeLike
Hi! I just found your blog and I am falling in love! 🙂 Thank you for providing drills and tools to help practice. How long should a beginner do drills before starting letters? What is a good practice plan?
Thanks in advance!
LikeLike
Welcome! You can do letters anytime. Preferably after you have warmed up with some basic strokes, and the slowly connect them to form letters. Practice plan: Try devoting 15-30 minutes a day doing your basic strokes, and then writing a few letters and even words. Every time you touch the pen, you will improve, even if just a little bit! And take breaks – it’s about quality, not quantity.
LikeLike