
I’ve written about brush calligraphy being defined by its distinct thin and thick strokes.
I’ve shared my favorite brush pens and how they work to create brush calligraphy.
But some of you are still wondering, how does it really work? What is involved with this process of creating brush calligraphy? How do you get the words from pen to page?
This post is the first of many I plan to write in which I break down the art of brush calligraphy to help you understand of how it works. Read on below to about the importance of holding your pen at the right angle below.
And at the very end, I demonstrate these concepts in a new video!
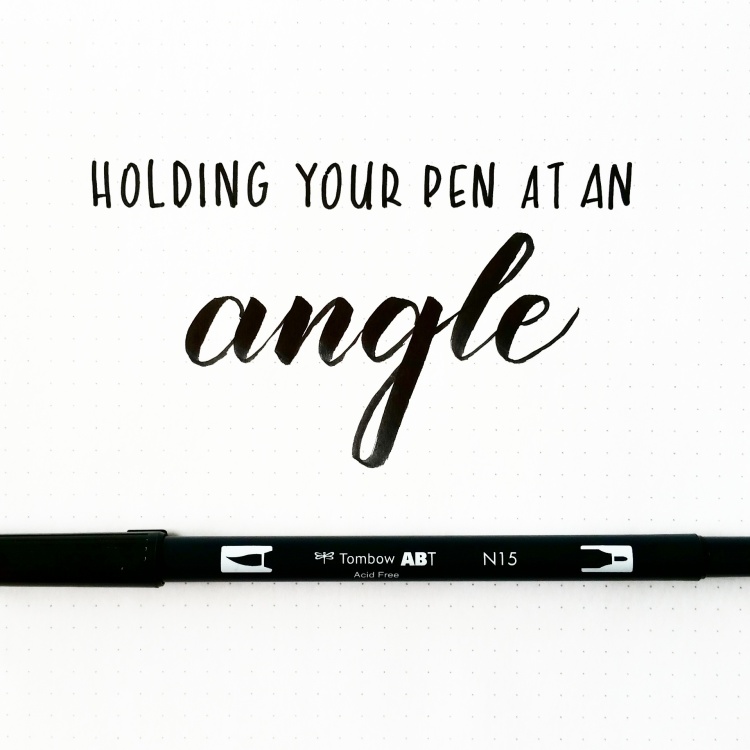
It’s all about the angle
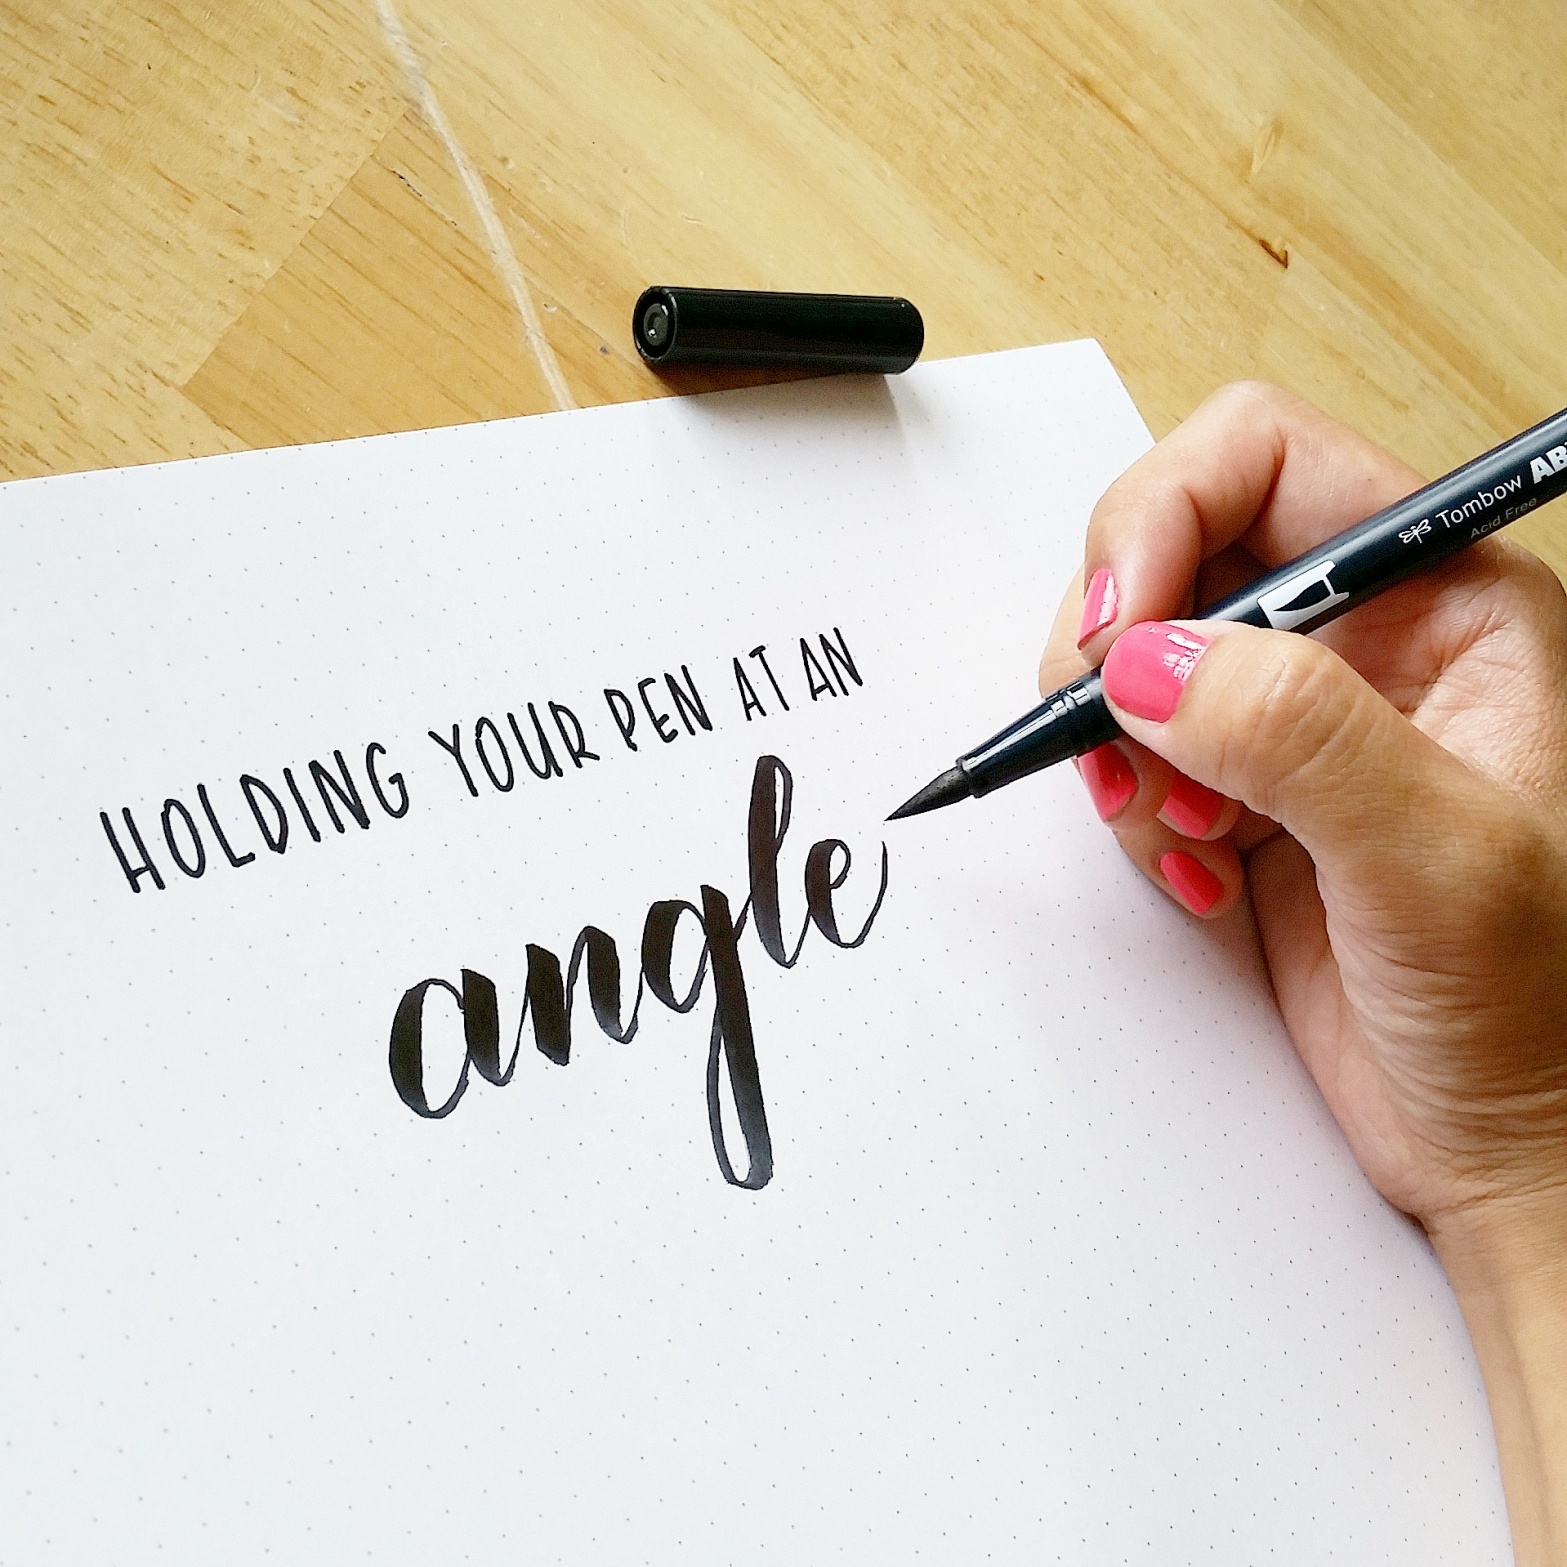
When holding the brush pen, it’s all about the angle.
Your positioning, both of your arm and body, is also important. And the direction your paper faces also matters. But the angle at which you hold your brush pen will allow you to create those thick and thin strokes.
And don’t just hold it at an angle. You must also maintain your grip as you write. You will naturally make subtle position changes when necessary. But overall, you should always be holding the pen at an angle.

Familiarize yourself with the tip of the pen
You want to increase your familiarity and comfort writing with the pen in order to maintain holding the pen at an angle and control the pressure you exert.
Remember, a brush pen is essentially a marker with a flexible tip. When you are on the upstroke, be sure to apply light to no pressure at all. See my Tombow dual brush pen below? I am barely touching the page as I am about to write a thin upstroke.

And on the downstroke, apply more pressure, allowing the pen to flex on its side and place more ink onto the page.

Here’s a quick phrase you can constantly tell yourself: thin up, thick down.
I say this to myself while completing practice drills. It’s tempting to write fast before mastering these strokes. The more you practice, the more you will build that muscle memory and eventually write faster without thinking too hard about when to apply pressure and how to hold your pen.
Do not hold the pen upright
The brush pen is not used solely for calligraphy purposes. It is used quite often for drawing, sketching, shading, handlettering (non-calligraphy), or regualr print. In these situations, the required angle of the pen varies depending on the desired result. The pressure needed does not follow a rigid structure like with calligraphy.
However, if you want to create brush calligraphy, do not hold the pen upright.
Holding the pen upright prevents you from taking advantage of the pen tip’s flexibility. When the pen is at an angle, it flexes, or bends, and will allow you to create the thin and thick strokes. So if you are holding the pen at less of an angle or too upright, you will not be able to bend the tip appropriately to create much of a variation in stroke width.

Watch this video to see these concepts above in action!
I review the reasons why you should hold your pen at an angle and demonstrate the difference between holding the pen at an angle and holding the pen upright. Enjoy!
~ ~ ~
It’s your turn! Tell me in a comment below:
What do you find challenging about holding the brush pen?
Do you have any tips or advice to add on holding the brush pen? Please share!
~ ~ ~
P.S. If you liked this post, please share it with a friend!
P. P. S. If you haven’t already done so, subscribe to my blog below so you get my posts directly in your inbox!

Very nice video – I can’t practice this enough! Love your lettering. 🙂
LikeLiked by 1 person
Thanks so much, Crystal! ❤ ❤
LikeLike
It is challenging for me cause I am left-handed. I wanted to excel in writing calligraphy but I am having hard time to follow the right angle. I need help. 🙂
LikeLike
Writing as a lefty is tricky, but definitely possible! Did you see my lefty tips? Check out my learn page (piecescalligraphy.com/learn) and go to the “tips for lefties” section. Hope that helps!
LikeLiked by 1 person
Great video! I might have to practice a little more to get this done. 🙂 and thanks, I am learning little by little 🙂
LikeLiked by 1 person
Thanks, Kristine! Take it one step, one letter, one stroke at a time!!! Don’t worry about the end game. Just enjoy the process. 🙂 🙂
LikeLiked by 1 person
Try a plus sign, both horizontal and vertical lines will be equal in weight if you are holding onto 45 degree pen angle, remember gripping does not hold the angle, being conscious keeps the angle in place. Now see how many shapes you can make at a 45 degree pen angle.
LikeLiked by 1 person
Wow, this is very helpful, Merrill. I’d love to see your explanations demonstrated. Do you have any videos or resources that illustrate your suggestions? I am very interested to see. Thanks so much.
LikeLike
Very helpful demonstration, thank you!
LikeLiked by 1 person
You are very welcome, Susan!
LikeLike
This is going to be hard for me. I have a bad callous and tend to get really thick dried out skin along the side of my middle finger that pens rest against. Because of that, it can be very painful to hold pens certain ways, and I find myself compensating a lot for that by holding my pens more upright. Not sure how much I can do to fix this. Looks like I need to practice a lot and see if maybe somehow I can find a way to use less grip pressure as I hold the pens so that I can get a better angle. I just don’t feel like I have enough control that way.
LikeLike
Hi, Leisel! Ah, that doesn’t sound fun at all. Personally, I have a very tight, firm grip. Not good. Especially when I need to write long pieces or address several envelopes. Definitely rest assured that many calligrapher and handletterers emphasize the importance of a firm, but not HARD grip. Hopefully the idea of learning to control your pen, while having a relatively loose grip will be something you can achieve, I have once heard from Melissa Esplin (calligraphy.org) that your grip should be so loose that someone should be able to grab your pen from your hand with ease. Hope that helps! Let me know how it goes.
LikeLike
You’re a great teacher and I learn easily from your simple way of passing the information across. THANK YOU
LikeLike
You are so welcome!
LikeLike
In theory, it seems so easy, but in practice it’s much harder, especially as a beginner! This video definitely helped. I could immediately see improvement! Thanks for sharing!
LikeLike
So glad to hear that, Jill! Happy writing!
LikeLike
your website has such good tips and blog posts for calligraphy ! Thanks 🙂 This will surely help me get better in calligraphy.
LikeLike
Awesome! So happy to hear that, Heidi.
LikeLike
Very helpful!! Thank you!
LikeLike
You are welcome, Ellen! Happy writing!
LikeLike
I love your video’s! I always see alot of people using practice sheets. What kind of paper is the best to use for downloading these practise sheets? Does it have to be tracing paper or do you use printer paper?
Thank you so much!
LikeLike
Thank you! Best paper: Any smooth, laserjet printer paper. Try to avoid regular copy paper. My favorite is: HP Premium Choice Laserjet paper. I do NOT print on tracing paper – I think it might be too thin/weak. But tracing paper is great for just that – TRACING!
Tracing paper is a great way to practice if you cannot get premium laserjet paper. My advice is to print on copy paper, and then place the tracing paper on top and write on the tracing paper. Hope this helps!
LikeLike
How do I write the name Ana Julia?
LikeLike